How to Create a Photography Website with WordPress
Posted on
April 17, 2021
by

in
Web Development
Are you a photographer who is tired of building a portfolio across social media platforms?
You would rather prefer a professional portfolio on the Internet, right?
Well, That’s where a website comes into play. A website acts as your professional portfolio that can be accessed all over the world!
But you need to be well-versed in coding to build websites, right?
Not at all! And that’s what we are going to show you, to create your own Photography Website with WordPress, without any coding! That too in just 4 steps,
Before we create a photography website with WordPress, let’s first understand why WordPress out of all platforms?
Well, its user-friendly interface and rich features have made it the top choice for professional photographers around the world.
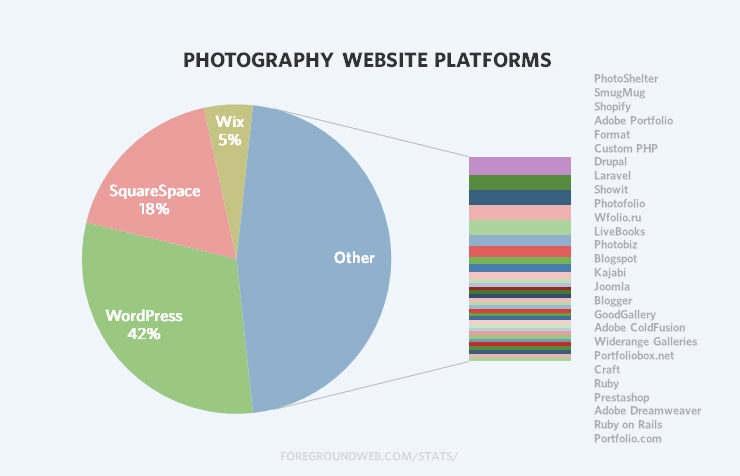
With thousands of themes and plugins available, WordPress is the most flexible when it comes to designing your website. And the best part! With self-hosted WordPress, you will have full control over your photography portfolio website.
Yeah, we know you are excited to create a photography website with WordPress, but before that, let’s emphasize why every photographer should have a website.
While it is easy to select and share your pictures on social media, an Instagram portfolio won’t hold up in the long run. We can’t deny that a well-optimised profile gets attention, but getting clients and proving your professional ability needs much more than a social media portfolio.
So, here are three reasons why every photographer needs a website,
Another option is to sell your photographs for print or for stock companies. This way, you can make that extra passive income while you work on your business. With that said, let’s get to business!
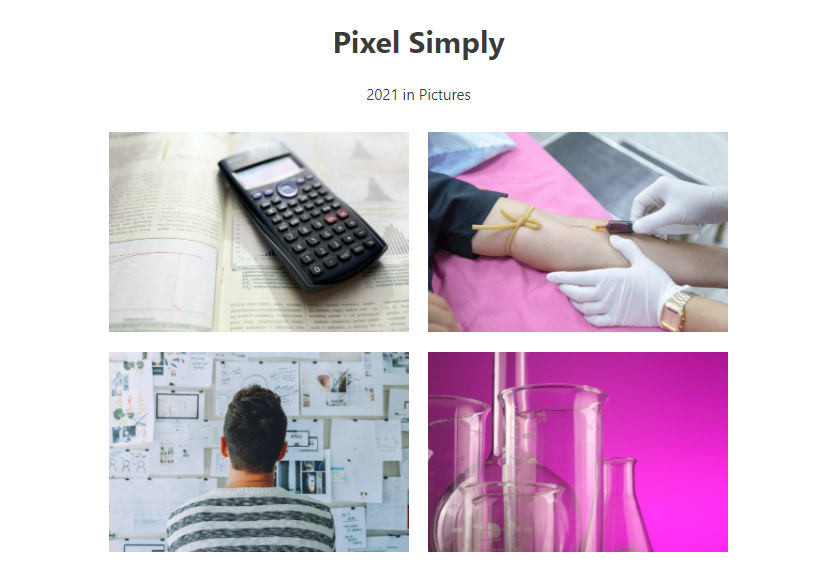
By the end of this article, you will be able to create a Photography website with WordPress like this in 4 simple steps.
The very first step in creating a photography website, or any type of website for that matter, is to get the domain and hosting. A domain is the name of your website that people use to access your website, and hosting is where your website’s files are stored. And choosing the right domain for your website improves credibility and builds brand value over time.
Having a unique and memorable domain name shows that you are a professional and you mean business. Here is how you can choose the right domain name,

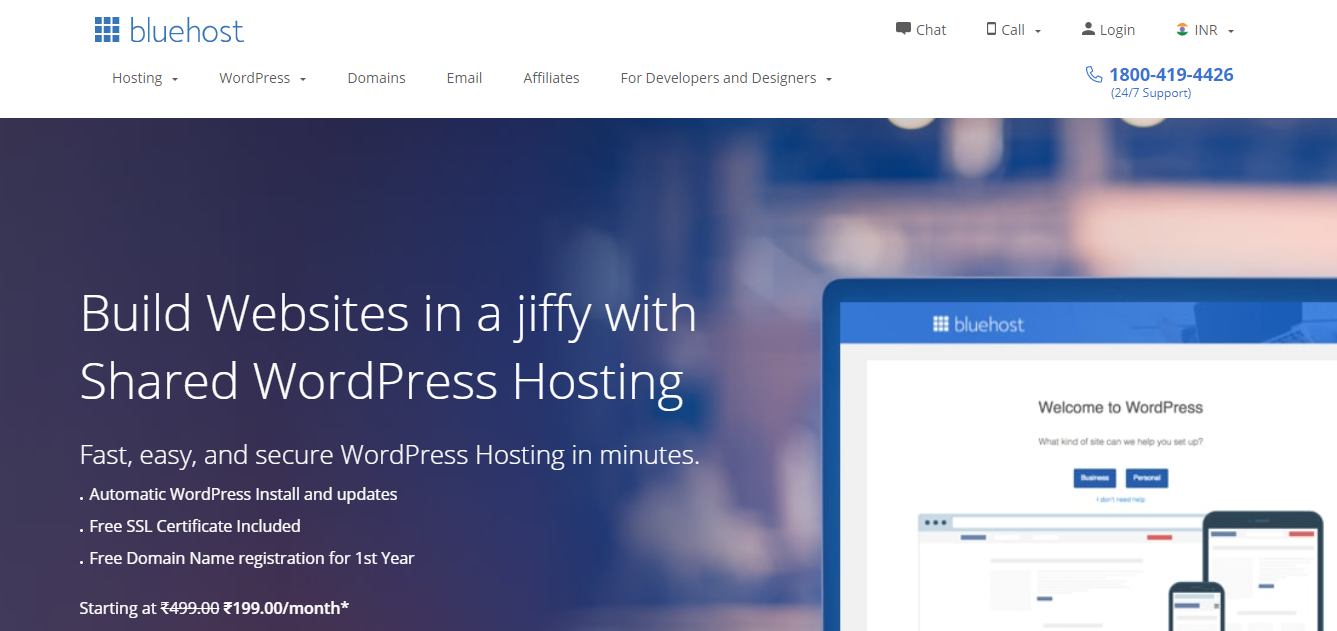
With thousands of hosting providers in the market, you need to take into account several factors before choosing the right host. Guess what? We have done it for you. We have carefully considered several factors like storage, bandwidth and chosen Bluehost to be the ideal choice for your photography website with WordPress.
To make things easy, you can click on this link to buy WordPress hosting from Bluehost.
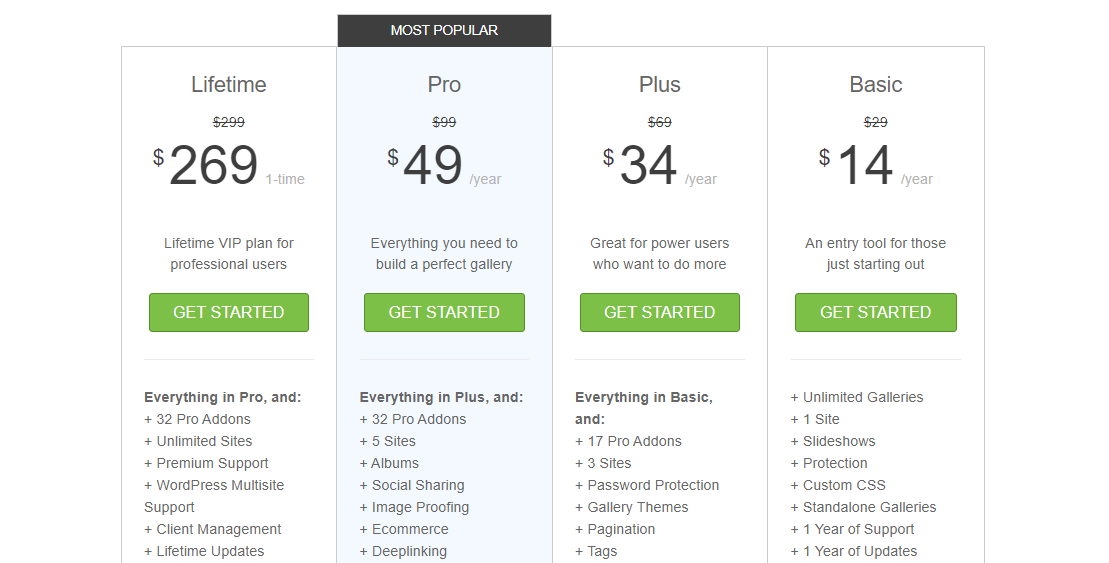
Now you will be redirected to the WordPress hosting page where you can find the different hosting plans available with detailed features and addons.
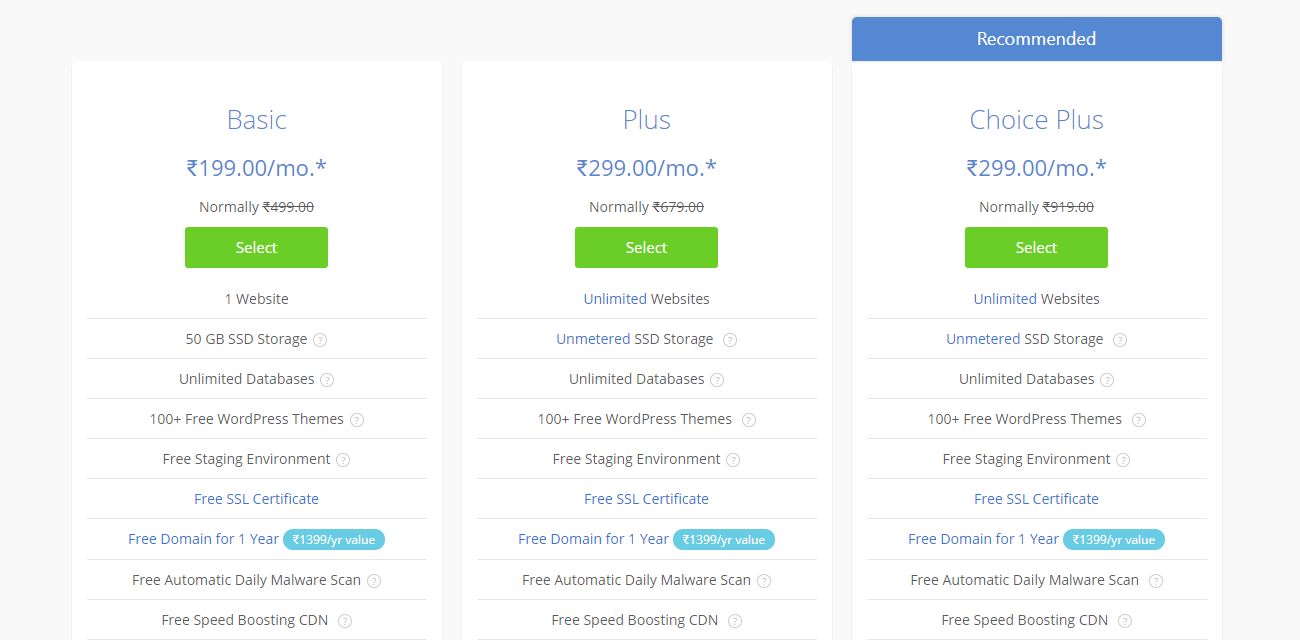
With 50GB storage even on their basic plan, Bluehost is the right host for photography websites that use pictures and galleries much more than a normal website. And with an Uptime of 99.98%, you won’t be losing out on any potential clients!
And the best part, Bluehost provides Free Domain for 1 year in all of their plans, and you can definitely make use of that! Well, after all, Bluehost is one of the official WordPress Hosting recommendations, and that’s for a reason.
So, among Basic, Plus and Choice Plus, choose the hosting plan of your choice and click Select.
Once you have chosen the hosting plan of your choice, it’s time for the domain. You can either Create a new Domain or Use a Domain you Own.
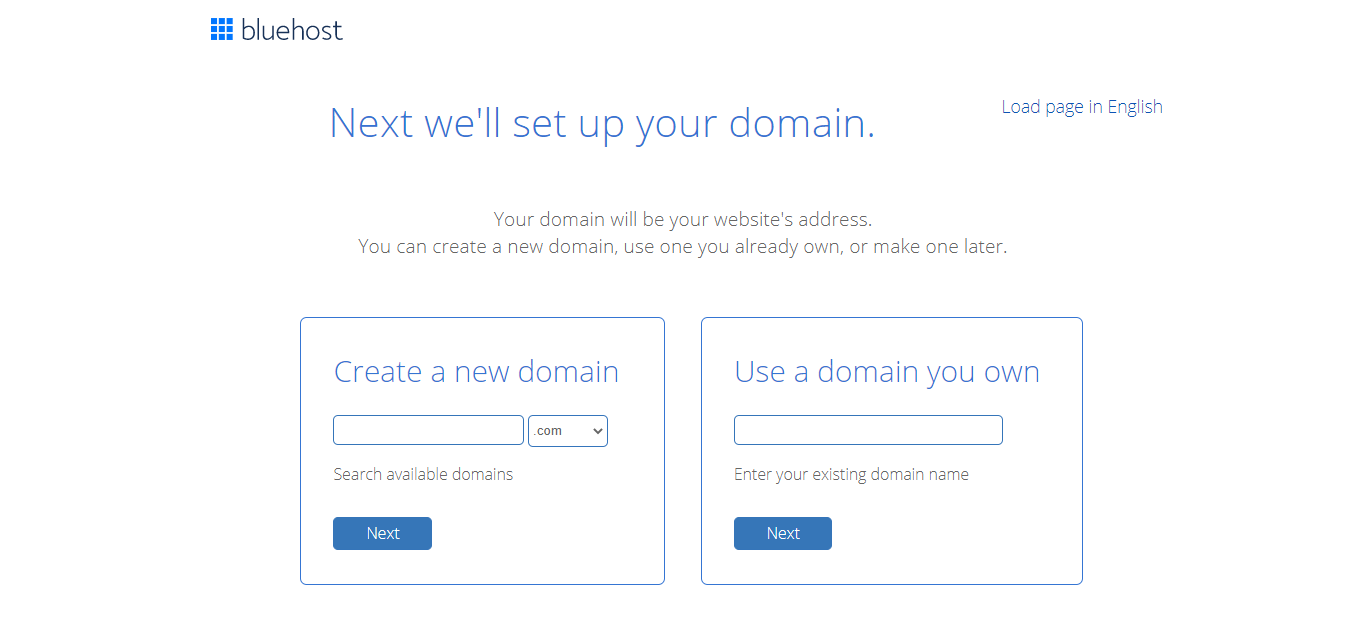
As we are only starting out, we can choose to create a new domain. So, enter the domain name of your choice and check for its availability.
Here, we are going to enter ‘pixelsimply’, and choose the extension ‘.com’. Click Next to check the availability.

Once the desired domain is available, you can proceed to fill out Account Information.
With Account information done, scroll down further to the Package Information section. Here, you can decide on the hosting billing cycle. The hosting price changes depending on the number of months you choose from the options.
Once you are set with the billing cycle for hosting, move to the Package Extras section. Here you can check/uncheck the Extras and keep only the necessary ones for your website. It should be noted that the overall price will vary depending on the Extras selected.
Then you can proceed to Payment Information and complete the transaction.
Once you are registered with Bluehost for hosting and a free domain, you are well on your way to create your photography website with WordPress. The last thing you need to do in your hosting provider’s dashboard is to install WordPress. Thankfully, Bluehost offers a one-click WordPress install and makes it really easy for you to get started!
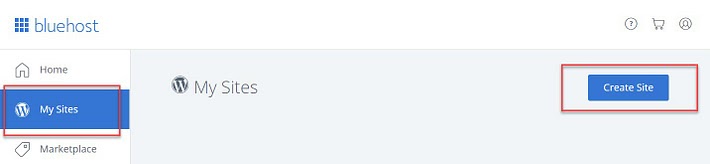
Log in to your Bluehost account, and choose My Sites from the dashboard. Here, choose Create Site.
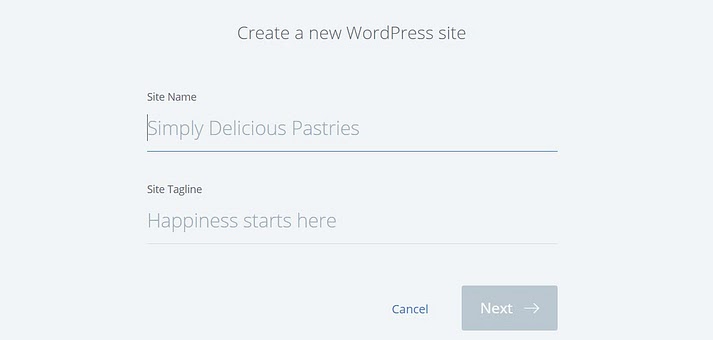
In the next step, you will need to enter some basic information regarding your website including Site Title and Site Tagline. We need to choose a relevant Site Title and Tagline, as these would play a major role in SEO.
We are entering our site title as ‘Pixel Simply’, and the site tagline as ‘Capturing memories as they happen!’.
Once you have entered the title and tagline, Click Next.
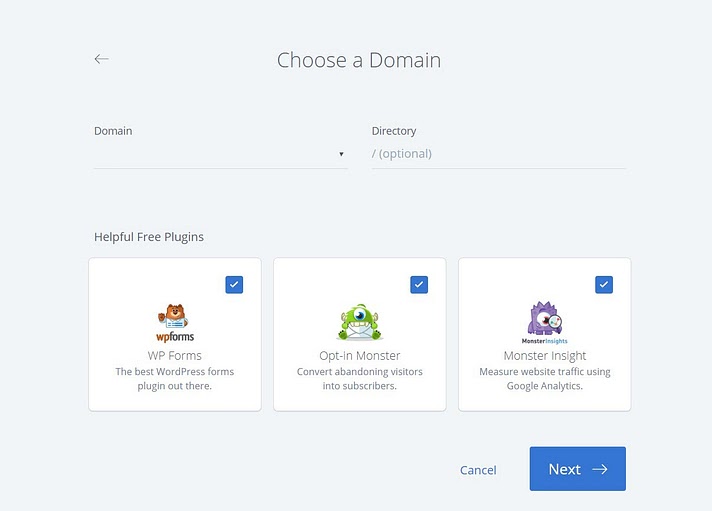
On the next page, you can choose the domain you already registered. Along with that, you can also make use of some useful plugins provided for free by Bluehost. Once done, click on Next for WordPress installation.
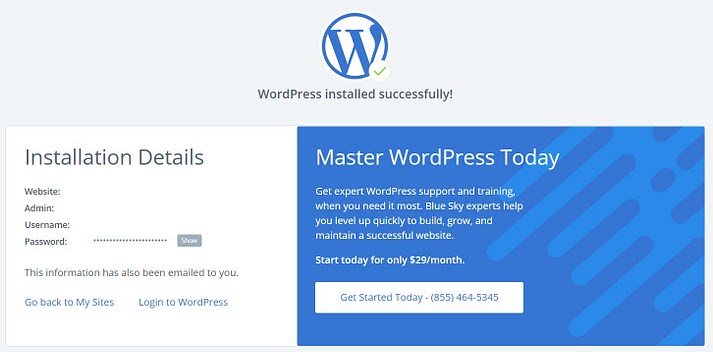
Now Bluehost will automatically install WordPress for you. It will display the message that WordPress is successfully installed on your website.
Along with that, it also shows Admin details including Username and Password, which are crucial to enter your WordPress website. Not to worry, Bluehost sends you an email with all the information, except for the password.
And that’s all you need to do from Bluehost. You have bought hosting, domain and even installed WordPress on your website. Now it’s time to customize and work within your website.
First off, Congrats! Your website is live now.
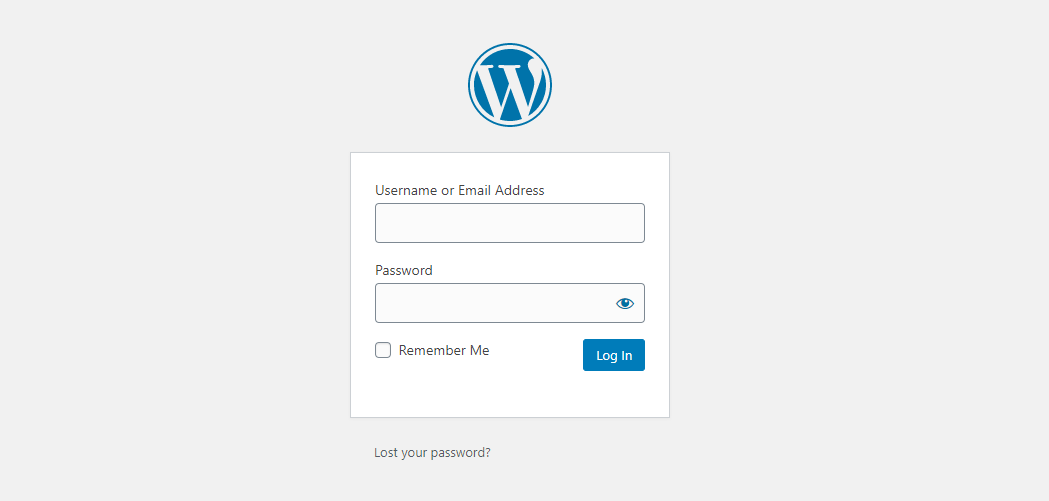
But we are just getting started! You still need to customize your website from the WordPress dashboard. To enter the WordPress dashboard, enter your website URL and include a ‘/wp-admin’ at the end of it, like
‘www.pixelsimply.com/wp-admin’
This will open up the WordPress admin login page. From the Admin Information you received from Bluehost via Email, you can enter the Username and Password to access the dashboard.
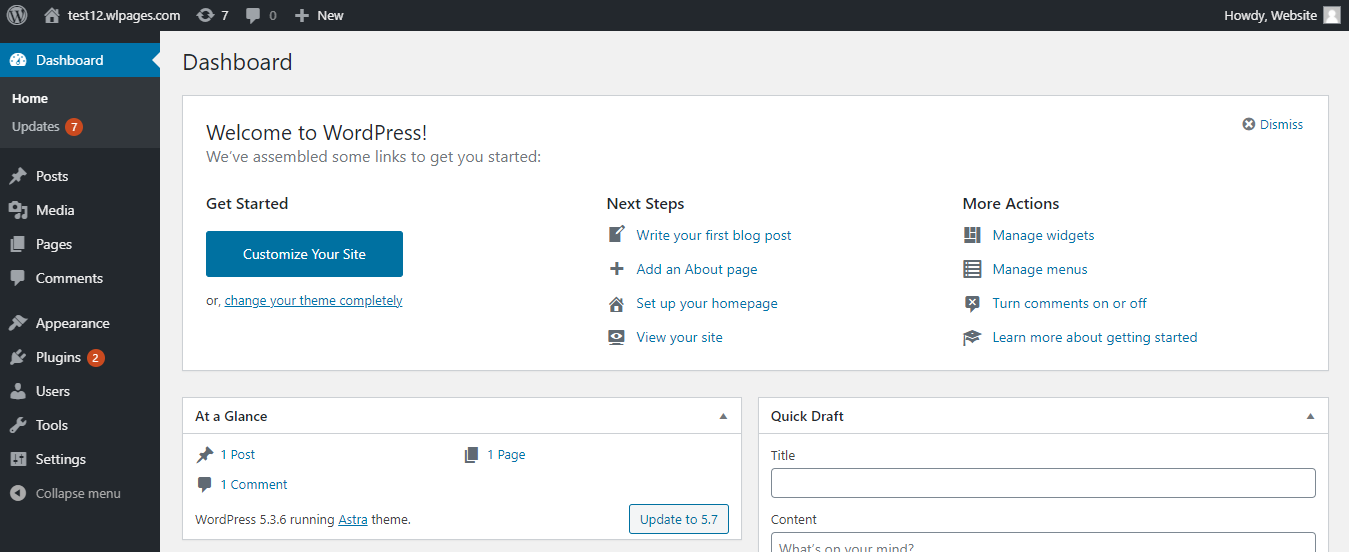
The first thing you will notice after logging in is the WordPress dashboard. You can customise any part of your website right from this dashboard.

To start customising your website, the first step is to choose a theme. A theme dictates the look and feel of your website, and it is even more important in a photography website, as it’s all about how visually appealing your website is.
To select the theme of our choice, let’s go to Appearance and choose Themes.

Now the Themes section will be displayed with the existing theme of your website. To browse various themes and select the theme of our choice, Click Add New.
You will now be redirected to the Add Themes section where you can browse through the thousands of themes available in the WordPress directory.
With these many themes available, you need to think twice before choosing the right one for your website. That’s why we are going to go with one of the most trustworthy and popular themes, Astra, for your photography website with WordPress.
Astra is one of the most widely used and popular themes in the WordPress directory.
But why we recommend it for your photography website is the sheer speed and customizable capabilities. Also, Astra is lightweight and mobile-responsive making it the ideal choice for your Photography website.
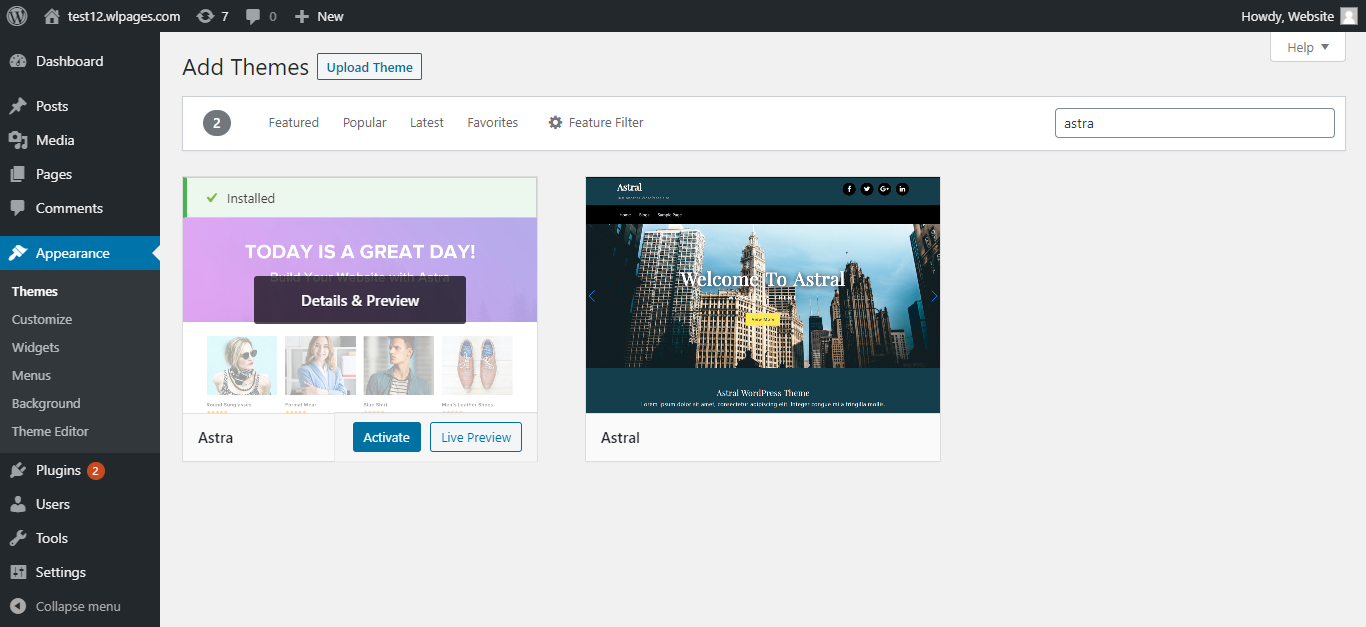
So, in the Add Themes section, search for the Astra theme.
In the search results, Select Astra theme and click Install.

Once Installed, Click on Activate to activate the Astra theme. Now Astra theme will be applied to your website layout.
Now that the Astra theme is installed, you can select Customize your Site to edit and customize your website as it is.
With the WordPress’ What You See Is What You Get (WYSIWYG) editor, you can customize the look and feel of your website as you wish.
But it is neither fun nor exciting to use the built-in page builder provided by WordPress. That’s one of the reasons why we chose Astra. For how compatible it is with the WordPress page builder plugins (more on that soon!). It even has its own set of pre-built website templates for photographers that you can import in no time.
But, at the end of the day, that’s a default template you are working with to build your website. How about we start from scratch? What if we can use a website builder plugin made exclusively to design and customize your dream website? Well, that’s what we are going to do.
While themes determine the look and feel of your website, plugins are responsible for the features and functionalities on your website. With thousands of plugins available for a variety of functionalities, choosing the right and necessary plugins will make your job much easier.
A website builder plugin, as the name suggests, is an exclusive website building add-on you can use on your WordPress website.
With easy-to-use design capabilities, a website builder plugin does all the hard work for you and makes it really easy to build your photography website with WordPress. That’s why you should make use of a simple but effective website builder plugin like Elementor that helps you create your website in no time.
Elementor is a visual website builder that simplifies the website building process. It contains blocks for almost all the features starting from a gallery to maps, with which you can customize your website the way you want it.
To Install Elementor, go to the Plugins section in the dashboard and click Add New.

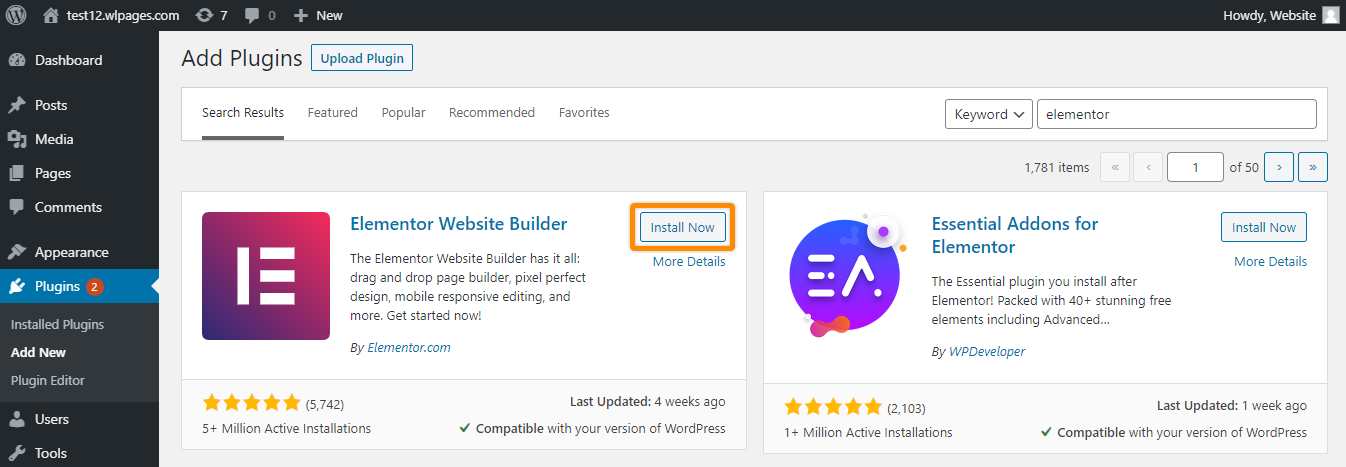
You will be redirected to the Add Plugins section. Here you can browse through the plugins that are available in the WordPress directory. As we have already chosen our plugin, search for Elementor.
In the search results, select Elementor and click on Install Now to install the Elementor plugin to your photography website with WordPress.
Now that you have installed the Elementor plugin, let’s activate it. Click on Activate.
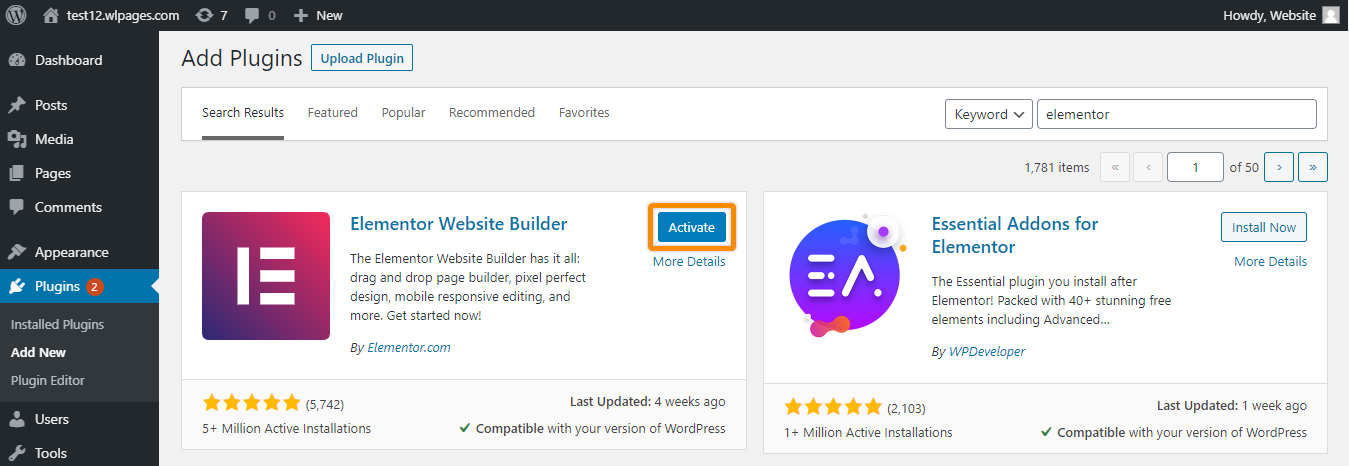
Once you activate the plugin, you will have the Elementor Welcome page. Here, choose to Create Your First Page.
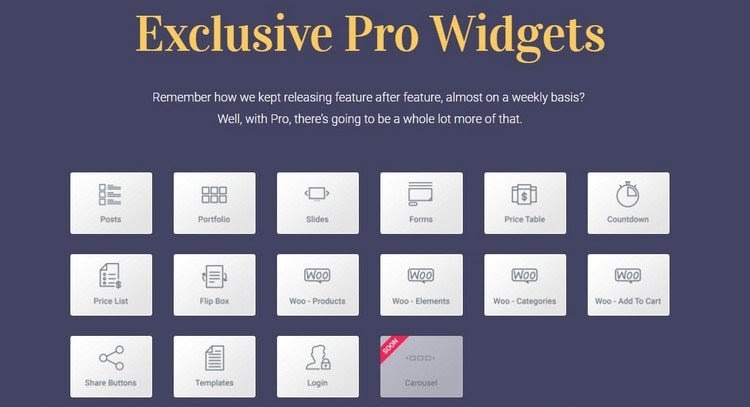
Elementor Editor will open and here you can see how Elementor treats a web page as a set of individual blocks. You can add features like carousels, slideshows and even contact forms to your photography website. With these many blocks, you can easily create a new section on your page or even create a new web page for that matter.
So, all you need to do is drag, drop and experiment with the various options available to create the website of your dreams. And, If you ever find yourself limited, you can always upgrade to Elementor Pro, which comes with its own set of features.
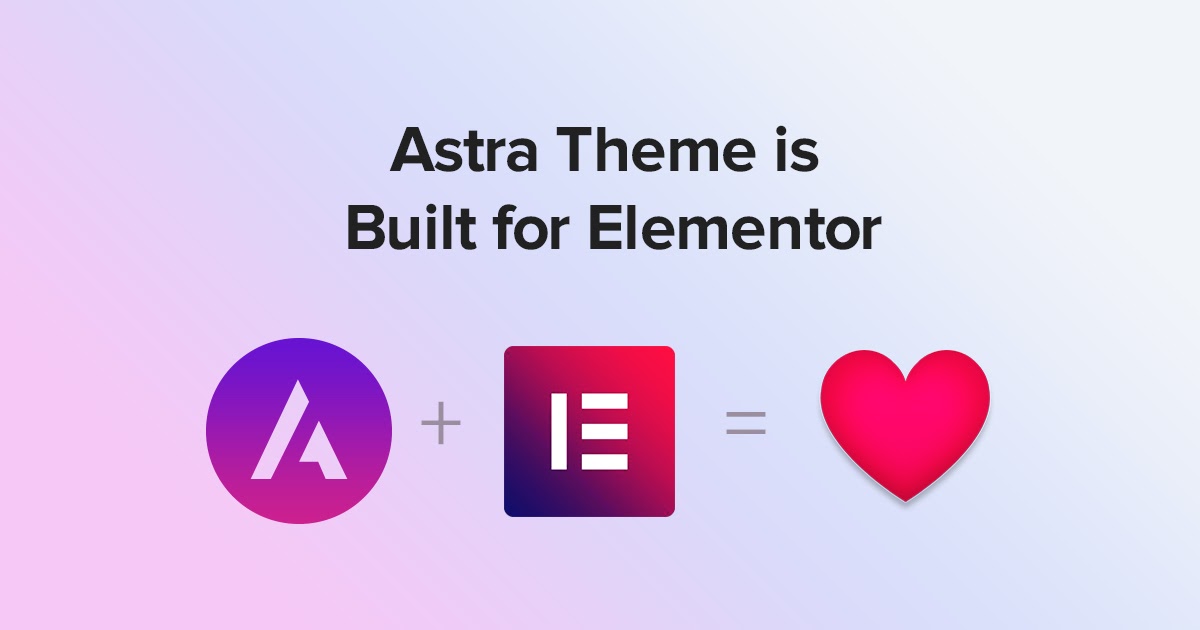
And the best part is, Astra is one of the themes that are fully compatible with the Elementor plugin. So, with Astra and Elementor by your side, you can design and customize literally every single aspect of your photography website with WordPress.
Your website is looking great already! But don’t you think we need a gallery specific plugin to spice things up? After all, we are building a photography website, and there is no question why we need a gallery. Not just any gallery, but a visually pleasing and responsive gallery to excite and interest your visitors.
That is why you need to install a gallery-specific plugin that adds attractive, eye-catching galleries and carousels. Envira Gallery is one such WordPress gallery plugin that can help you with a fast and responsive gallery.
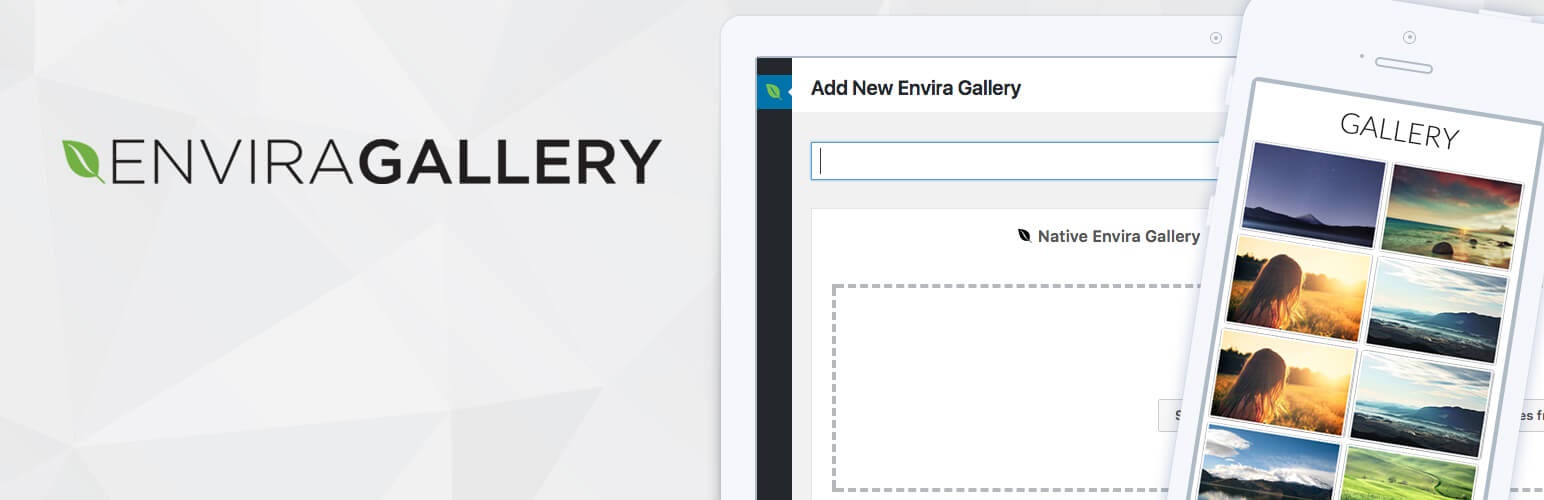
Envira Gallery has a simple drag and drop builder that lets you create stunning photo and video galleries in a matter of a few clicks. You can even group and organize the photos into albums with cover photos. Plus, Envira Gallery has built-in SEO capabilities that make it the ideal option for your website.
To install Envira Gallery, go to the Plugins section in the dashboard and select Add New.
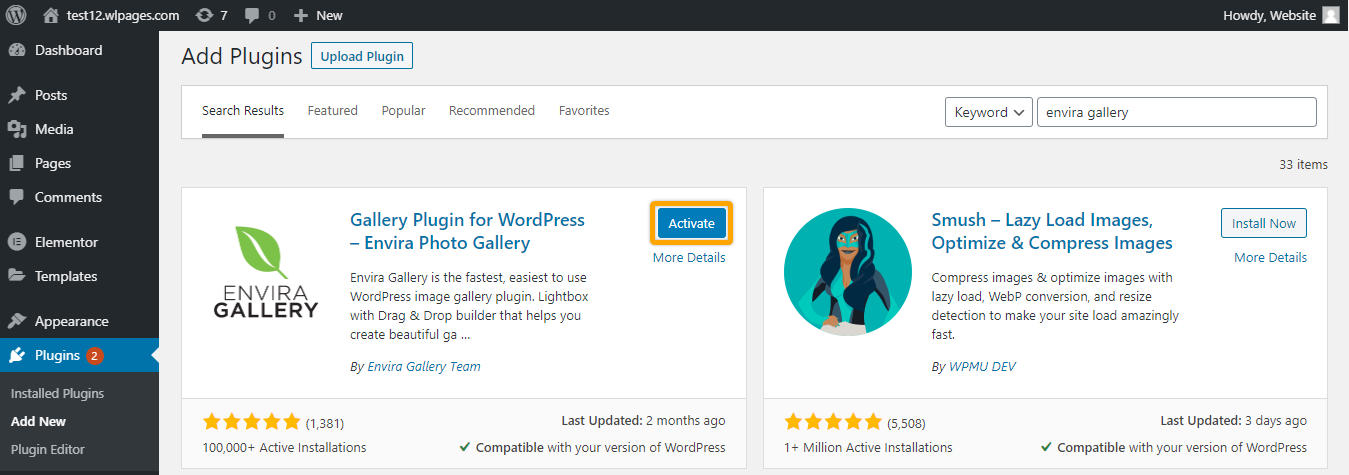
You will be redirected to the Add Plugins section. Here you can search for Envira Gallery.
In the search results, choose Envira Gallery, and click Install Now.
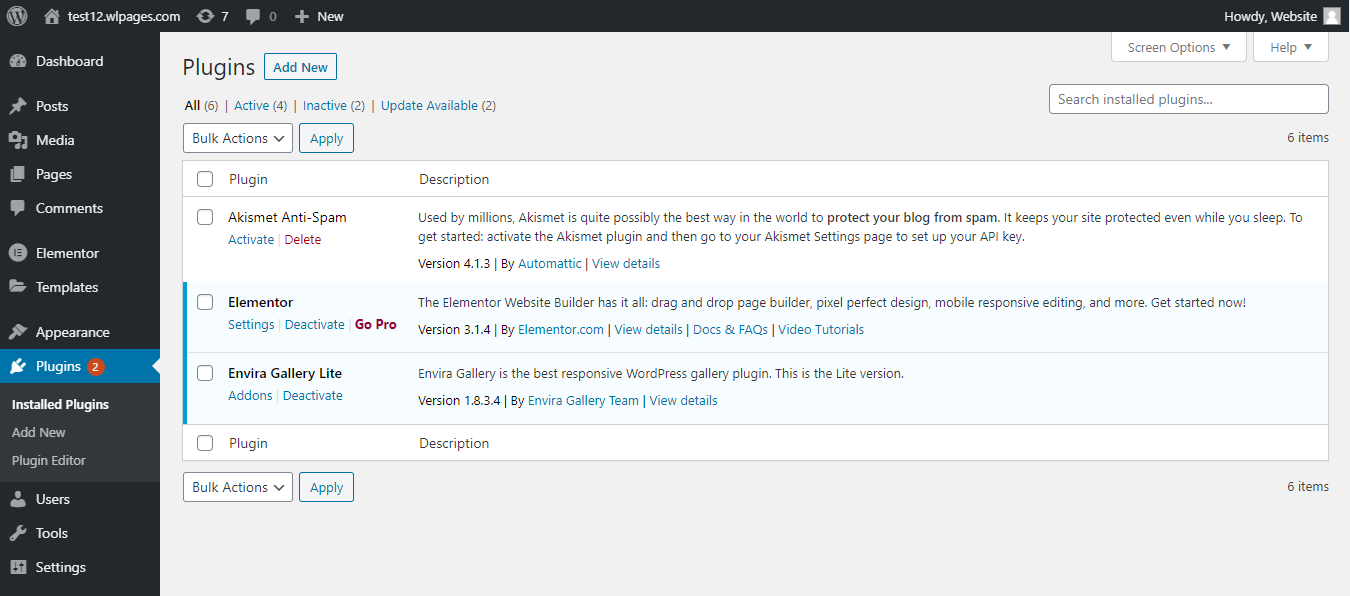
Once installed, click Activate to activate the Envira Gallery plugin.
Once activated, Envira gallery will be added to the list of plugins you have installed on your photography website with WordPress.
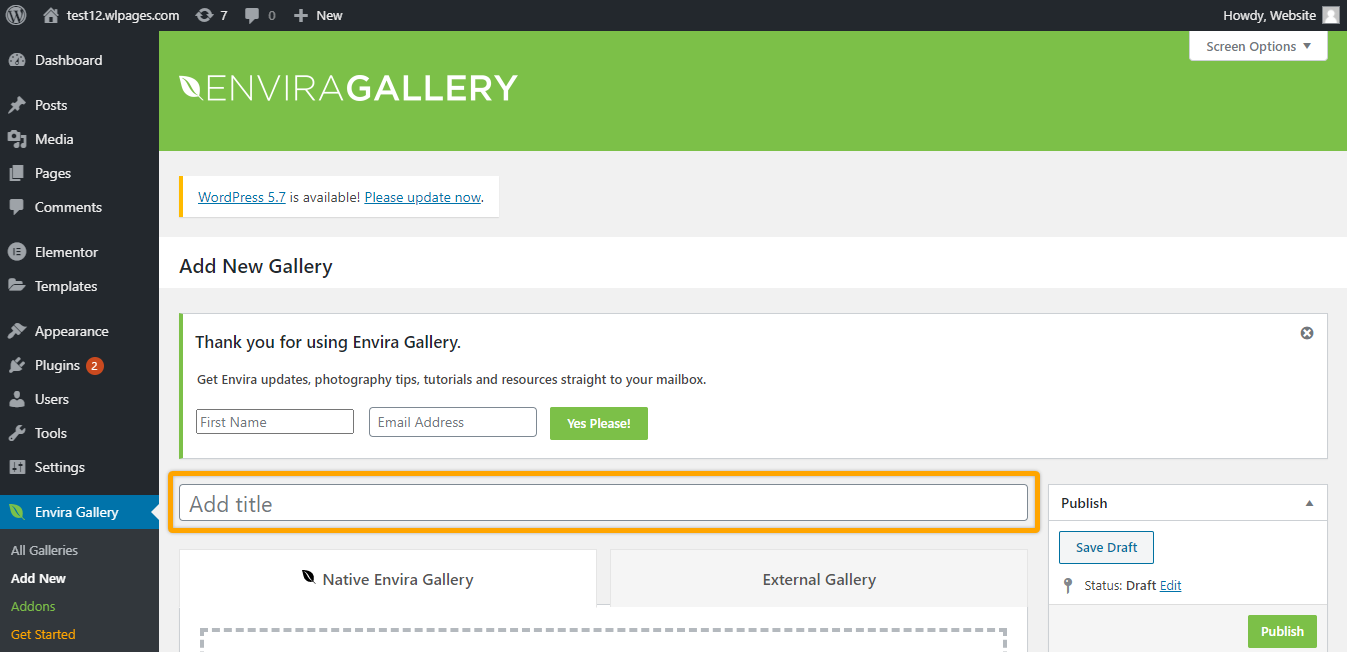
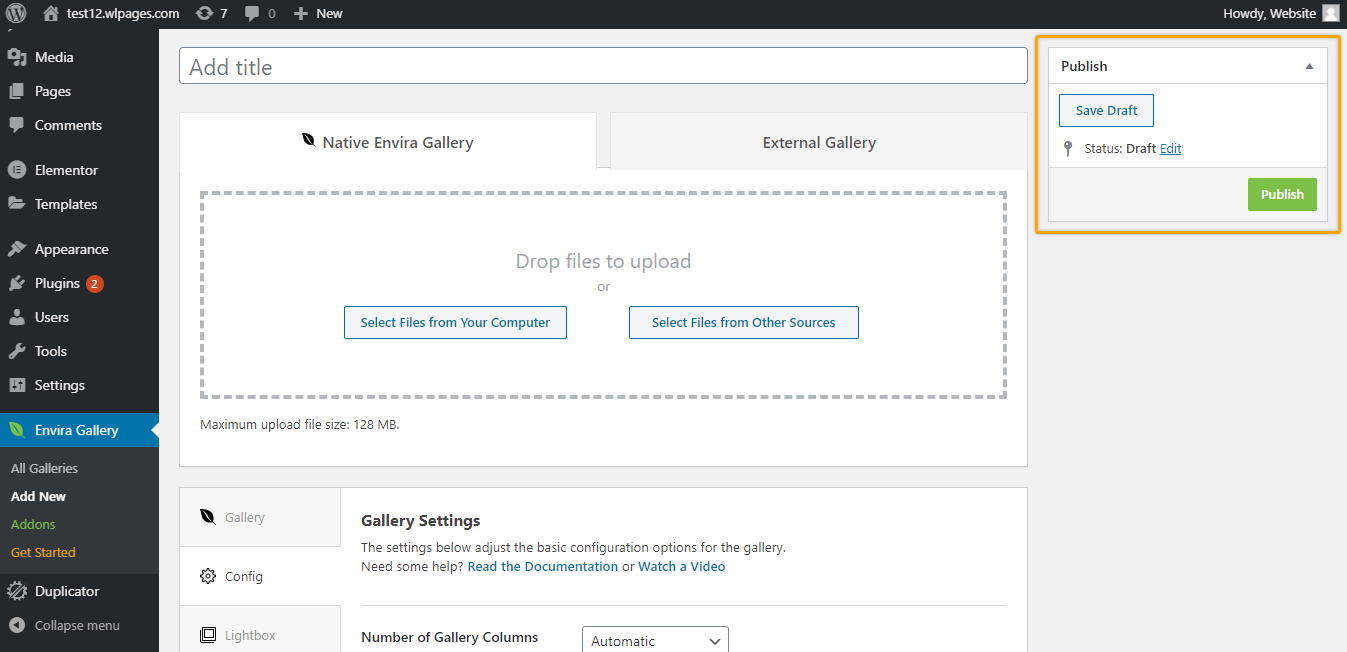
To get started and create your first gallery, go to Envira Gallery in the dashboard and choose Add New.
It will redirect to a new page where we can create our first gallery for our photography website. First things first, Enter a title for your gallery.
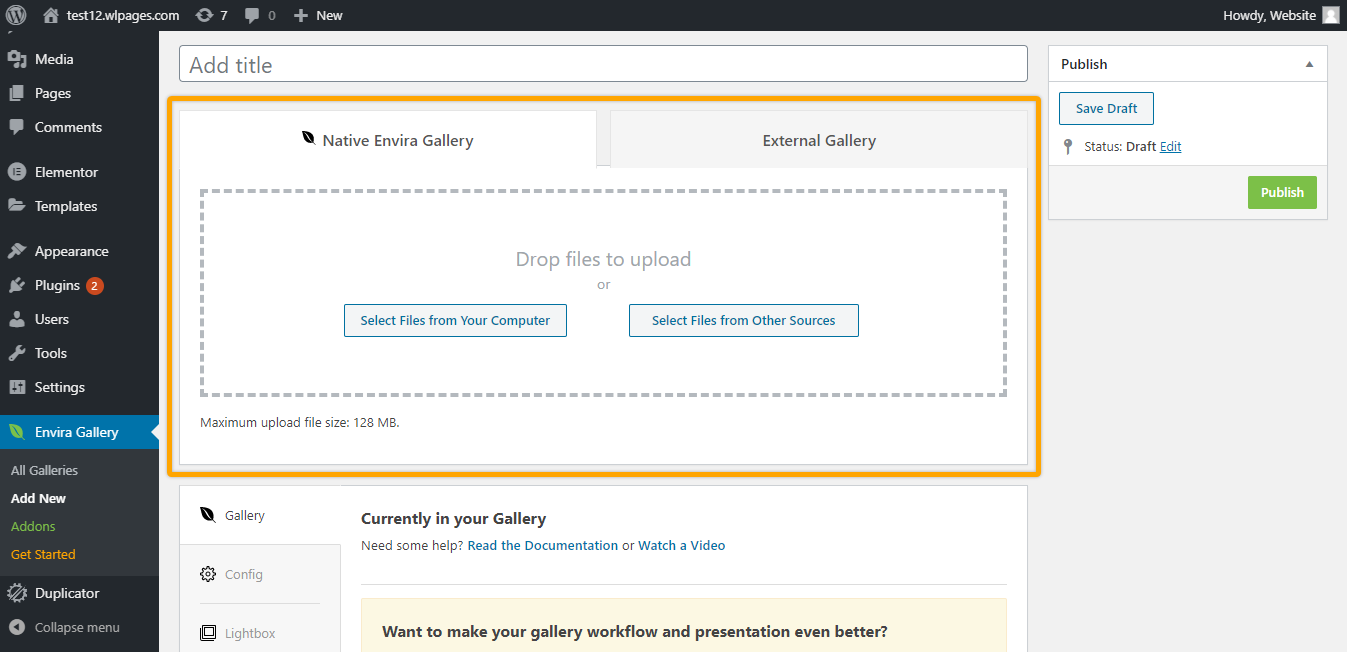
Once you have chosen a title for your gallery, you can then choose to upload images to the gallery, either from your computer or from other sources.
Envira gallery also gives you the option to configure several gallery related settings.
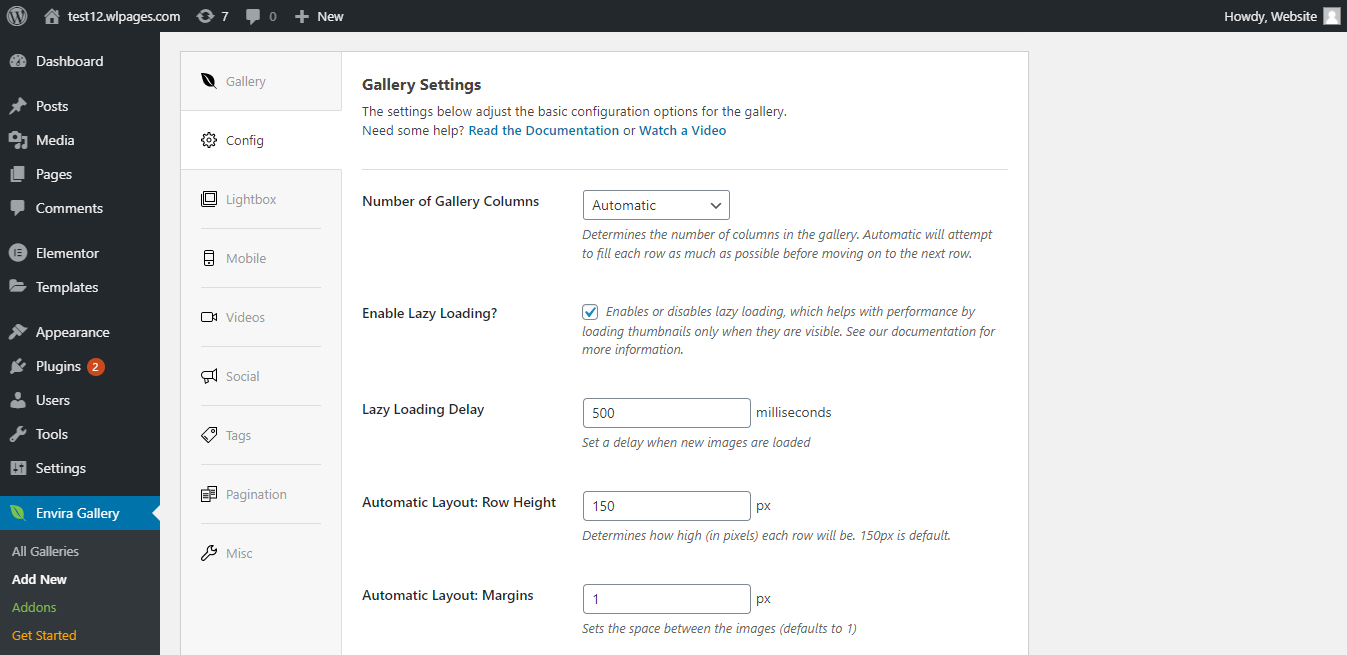
Once the settings are configured, you can drag, drop and experiment with the images on your gallery. You also have the option to include Metadata and set Lightbox for your images.
Once you are done with adding images and customizing the settings, click Publish.
Once you click Publish, the gallery gets created in Envira Gallery. But we need to add the gallery to our website, right?
To add the gallery to our website, we need to copy the shortcode for that particular gallery. Shortcodes are small pieces of code with which you can easily accomplish a certain functionality without writing any code.
So, let’s copy the shortcode for this particular gallery.
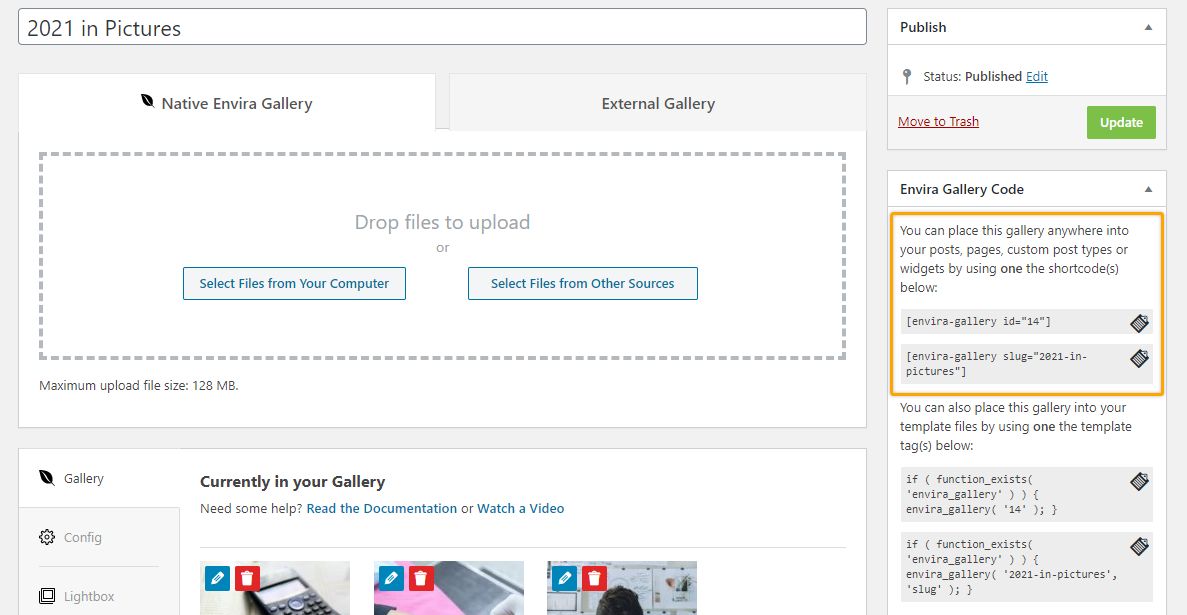
Once you have the shortcode copied to your clipboard, let’s include a Shortcode block and enter the shortcode.
And that is how you can add a gallery to your website.
Along with the free plan, Envira Gallery has a premium version with more features like Watermarking, Social sharing and Image Proofing.
So, now you have a functioning photography website with even a responsive gallery. You got your online portfolio right there! But a gallery alone doesn’t make a photography website.
With the Elementor plugin by your side, you can literally add any kind of feature to your website. So, you can customize and add any sections of your choice. This includes a photography blog or even a dedicated web page to sell your photos.

You can always add value and inspire such people using blogs and tutorials. You also become a better storyteller and in the process, it helps nurture your creative energy.
It need not even be art prints. It can be as simple as selling stock photos digitally. No matter what, it can help you with a secondary income stream.
It serves as an entry point to know about the business and how it all started. Having a clear and engaging About Us page will work magic on the visitor’s trust and make them convert to a client.
That is all! With some more customization done, here is the photography website we have created using WordPress.
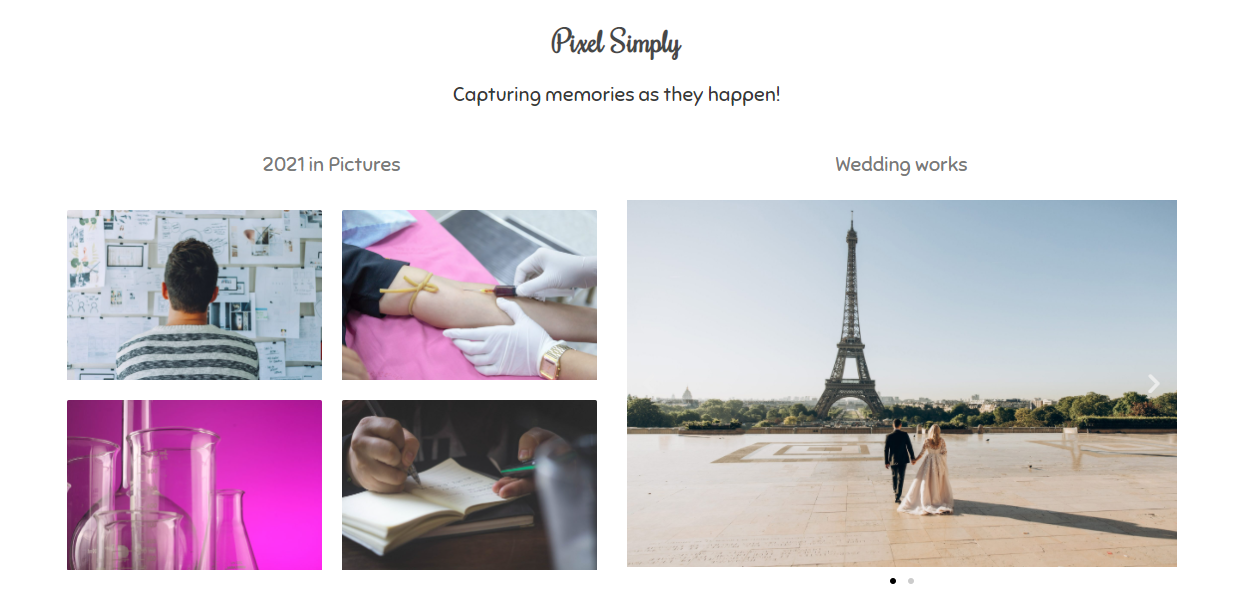
And that is how you can create your own photography website with WordPress and customize it according to your needs. In just 4 steps,
Before you go, here are some bonus tips and plugins you should use in your photography website with WordPress.
It’s a photography website, so obviously there are going to be a ton of images. While it is crucial for you to showcase your works, the more images you upload, the higher the chances for your website to slow down. The last thing you want is a slow website as it affects your users’ experience. It may even cost you a potential client.

So, along with the best hosting, you also need to optimize your images using an Image Optimizer plugin like Smush. With such a powerful Image Optimization plugin, you can optimize the images without losing the quality. It even has options to bulk optimize the images on your website.
It may sound silly but you must include your contact information on your website. Having your contact information, or even using a contact form on your website helps potential clients to get in touch with you much faster.
No matter whether they came from, be it social media or other means, nothing sounds as professional as a website. So, you don’t want to miss out on potential clients that way.
Check our video tutorial on How to Create a Contact form on your WordPress website.
Search Engine Optimization (SEO) is the major factor that decides the rank of your website in the Search engine results. It is crucial to focus on SEO, not just for rankings but also to generate organic traffic. It may all seem alien to you, so you can start with a trusted SEO plugin like Yoast SEO.

In a photography website, you can start by optimizing the title and description that appear in the search results. This can influence a potential customer to visit your website. Also, keep a watch on the keywords you use and the number of times you use them.
Including these three must-have plugins, we have handpicked an entire list of plugins that will help build your dream website.
WordPress, over the years, has made it really easy for even non-technical people to get started in website creation. And with the growing popularity of photography, there has never been a good time to start your own photography website.
A photography website can give you an edge over your competitors who only rely on their social media. And not just that, having your own photography website adds credibility to your business and shouts out that you are a professional.
And remember, a photography website is not just about displaying eye-pleasing galleries. You can include other sections that will add value to your visitors, like adding a photography blog.
In fact, it is recommended to add a blog to your photography website considering how important Blogging is for Businesses. Just like how you created a photography website with WordPress, you can easily create a blog in no time.
And for more such video tutorials on customizing your WordPress website, subscribe to our YouTube channel.
Yes. WordPress is highly flexible in terms of design. It comes with thousands of themes, plugins and extensions, making it possible to design your dream photography website. Also, a self-hosted WordPress website gives you the entire control over the website.
With Ease of use and better SEO capabilities, there is no second thinking on WordPress for your photography website.
WordPress as a software is free and open-source. You can download WordPress to your system and proceed to work on it. But, to use WordPress on the web, like having a WordPress website is not exactly free. You need to get Domain and Hosting to own a WordPress website and that price varies depending on the hosting provider.
With thousands of plugins in the WordPress directory, there are several photography specific plugins for features like Gallery and Image Optimization. To get started, you can use,
As a photographer, the Astra theme is extremely beginner-friendly and makes it really easy for you to build websites. Astra is one of the most widely used WordPress themes and that’s for a reason.
The reason why Astra stands out is the customizing capabilities that come with it. Plus, being lightweight and mobile responsive is an added advantage.
Both Wix and WordPress are amazing platforms to create your photography website. However, if you are okay with a slight learning curve, then WordPress is the right platform to build a photography website.
But if you want a simple way to get your photography website up and running, without any technicalities whatsoever, then Wix may seem like a better option than WordPress.
While many photographers think they need some sort of technical knowledge to build websites, all one really needs to do is,
And that is all it takes! Additionally, you can add more sections and customize them to build your dream photography website.
Though each and every website is unique in its own way, it is good practice to include certain in all photography websites. Such things that need to be present in all photography websites include,
Apart from these basic elements, one can include a separate blog page to write photography related articles. And also a marketplace to sell photographs and even courses.
Do you want to learn WordPress to build any kind of website you want? Then this is the only course you need to take.
View CourseSEO isn't as difficult as you might think. Learn how to start growing organic traffic to your website with our easy to follow video .
Watch VideoSign up for our WordPress Course today!
2 Comments
Leave a CommentSandeep
Awesome explaination! Even a 6 year old can understand. Keep up the awesome work @Swarnaranjan. Looking forward for more content.
Swarnarajan
Thank you for the kind words, Sandeep. Glad you liked the article.