How to Make a Website in 5 Steps
Did you know you can create a website in just 10 minutes if you follow this blog?
If you think this is just another clickbait open line to get you hooked, we’re happy to say that this isn’t one of them.
happy to say that this isn’t one of them.
Here’s what people who followed this are saying:

And here are some of the websites created by
following this tutorial:

With exactly this confidence in helping thousands of people build their websites easily, we’re here to help you do the same.
If you’ve watched the video or gone through the previous sections on this webpage, the next part will help you learn more & create your website with ease.
So, let’s jump straight to it!
The Website Essentials
When it comes to creating a website, there are a few things you need to keep in mind. But the most essential three things about making a website are:
Now, let's take a closer look at each of these in detail.
What is Domain?
The domain is your website's address on the internet. It's like the name of your site that people type in their browsers to reach your website. Now, getting a domain might seem like the simplest step, but there are a few things to keep in mind before choosing your website's domain name.
Choosing the right domain name that suits your business/brand sets the tone for your website and makes it more trustworthy.
What is Web Hosting?
Hosting is the place where all your site’s files are stored. When a person visits your website, the hosting server fetches all your site files and shows them in the visitor’s browser.
A web hosting service allows your website to be accessible on the internet to people all over the world. So, it is important to choose a trusted and secure platform to host your website.
What are Website Building Platforms?
Website building platforms are the tools that let you create your website easily.
A few years ago, creating a website needed a lot of coding knowledge & skills and months of trial & error to get it working perfectly. But with modern technologies, we no longer have to go through all that.
Creating a website without coding knowledge has become easily accessible for everyone through website-building platforms. These platforms have codes written by programming & web development experts so that you don’t have to go through the tedious coding process.
All you need to do is design the website’s layout and content using simple tools and features like drag & drop.
Why Choose WordPress as our Platform?
Some of the leading website-building platforms are
Out of all these, we’re going to choose WordPress because it is the most reliable and widely used platform in the entire world.
WordPress is used by over 43% of the websites in the world, including the websites of Mercedes Benz, Sony Music, White House & Walt Disney. This gives us more reasons to trust WordPress and build our website with it efficiently.
Now that you know the essentials of a website,
Next, we will follow along with this blog and
make the perfect website in just 5 simple steps.
Step 1: Pick a Domain Name for your Website
Like how we saw in the website essentials section, the domain of your website is your site’s address on the internet. That’s why getting a domain is the very first step in our website-building journey.
If you think getting a domain name is absolutely free, then we have some bad news for you.
Even though there are platforms that offer free domains, they are not recommended as they bring a lot of security issues to your website. And as the domain is your website’s address & identity, it is crucial that we buy the right domain with the right extension, And especially from a trusted, secure platform.

How to Pick the Right Domain name for your Website?
- Use your business name (if you’re creating a site for your business).
- Use keywords in your niche (if you’re creating a personal site or blog). Example: On the top of this page, you can see that our website’s domain is “www.websitelearners.com” and all of our content revolves around websites.
- Using niche keywords like this in your domain helps people immediately know what your website is about and also helps improve your site’s performance on search engines like Google.
- Keep your domain name short and simple.
- Always pick a name that is easy to remember & pronounce.
- Avoid colloquial or regional words as they can be hard to remember for a wider audience.
- Use the right domain extensions (.com for Commercial, .org for Organization, .net for Network, .co for Company/Corporation, etc.)
- If you’re unsure of what extension to choose, pick “dot com” as it is one of the most widely used & trusted domain extensions.
Check Domain Availability
Once you’ve made sure that the domain is available, before proceeding to purchase the domain, We have an important secret to tell you!
(You can buy the domain for FREE along with hosting!)
So, let's jump to the second step of making a website.
Step 2: Get Hosting with Free Domain
Like we said earlier, hosting is the other essential aspect of creating the website as it is where all your site files will be stored.
Now, there are different types of hosting like shared hosting, dedicated hosting, WordPress hosting, eCommerce hosting, etc.
And each type of hosting comes with a set of features, pricing, and scalability. But we’re not going to get into all the details here.
To save you all the time and effort, we’ve nitpicked one of the best hosting platforms for you to purchase from.
Why are we Choosing GoDaddy?
The reason why we’re focusing on getting a free domain for the first year is that it saves you money, and also, having the domain & hosting from the same platform will offer you better scalability and ease of use.
Now that we know the importance of buying the domain and hosting from the same platform, next, let’s see how we can purchase it.
How to get free Domain with Hosting from GoDaddy?
The process of purchasing the free domain with hosting is simple.
Get Hosting & Free Domain
Once you click that,
You will reach GoDaddy’s plans & pricing page, where you can choose the plan that suits your business and website needs.

Then, proceed to purchase it by adding it to the cart. On the next screen, you’ll be asked to choose your hosting plan duration.
Also, note that the price will increase/decrease based on your plan duration.

Once you’ve selected the length of your plan, you’ll get the option to enter your new domain name on the next screen.
This domain name will be included in your hosting plan, so it is free of cost for the first year, and you don’t have to pay anything extra for this.

Finally, after selecting your domain with the extension you want, you can make the payment and finish your hosting purchase with the free domain from GoDaddy!
An Alternative Hosting Provider?
All of these hosting providers offer their set of features, scalability, and respective pricing.
Now, even though GoDaddy offers affordable pricing and the best features, the renewal price after your initial plan is much higher.
This is a common problem in most hosting platforms.
So, is there any hosting provider that offers the same renewal price as the initial price?
! And that is why we recommend hosting your website on WebSpaceKit
WebSpaceKit is a relatively new hosting platform that has its servers in India (which means faster loading websites) And the best part is… it has
no higher renewal prices.
Get WebsSpaceKit
What you pay in the beginning is what you’ll pay when you renew your plan as well.
You can
read more about WebSpaceKit here.
Now, we’ve finished two steps in the website creation
process, and our website now exists!
Step 3: Install WordPress on your Website
So, now that we have got our hosting from GoDaddy, to start designing our website, we need to have WordPress installed.
Most WordPress hosting providers have a one-click WordPress installation process right after getting the hosting. And, some hosting providers like
WebSpacekit offer automatic WordPress installation once you launch your website.
Now, if your hosting provider does not offer an automatic WordPress installation or a one-click installation process, then we need to
install WordPress manually. So, let’s see two ways of installing WordPress on our website.
1.How to install WordPress in GoDaddy?
Once you’ve purchased the hosting plan and you’re in your GoDaddy dashboard, you can see an option called “Manual WordPress setup.”

Click that, and it’ll take you to a page where you’ll have to set up your WordPress username and password.

Next, you need to select your visitors’ location. The location you choose here does not mean your website will be visible only to people living here.
It just means that your site will be faster in this location than in other locations.

And that’s it.
WordPress will be installed on your website through GoDaddy.
Finally, to connect our domain to our WordPress site, we need to get back to our GoDaddy dashboard.

Click “Setup.”

Now, you’ll get a popup like this.
Just click “Attach.”

Once you do this, your domain will be connected to your WordPress site, and our website will now be live!

This means we can now enter our domain name on the browser, and it’ll take us to our website.
Anyone on the internet will be able to visit our website!
What are cPanels in Website Management?
cPanels are online control panels that are connected to your hosting servers and are designed to control, manage, and improve websites. cPanels are not just limited to WordPress websites but also to other types of hosted websites and it is one of the most popular control panels in the world.
Some of the top hosting platforms that have cPanel dashboards are:
2.How to install WordPress from cPanel?
If your hosting provider does not offer quick WordPress installation and is connected with cPanel, you need to install WordPress manually using the “Softaculous Installer” in your cPanel dashboard.
Step 1: Find the cPanel option in your hosting dashboard.

Step 2 Search for “Softaculous Apps Installer”

Step 3: Search for “WordPress” and click “Install.”

Step 4: Select “Quick Install,” then enter the latest WordPress version and your domain name.

And, that’s it! This is how you can install WordPress manually using cPanel.
Now, as our website is hosted in GoDaddy, we can install WordPress using the 1st method, and our website will be live on the internet! If we visit our site by entering our domain name in Google, we will see a brand new website.

As our website does not have any content or design right now, this is how it’ll look. So next, let’s see how we can import a theme and make our website look professional.
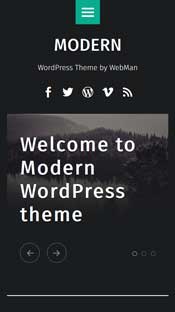
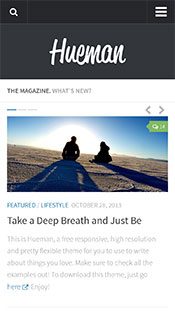
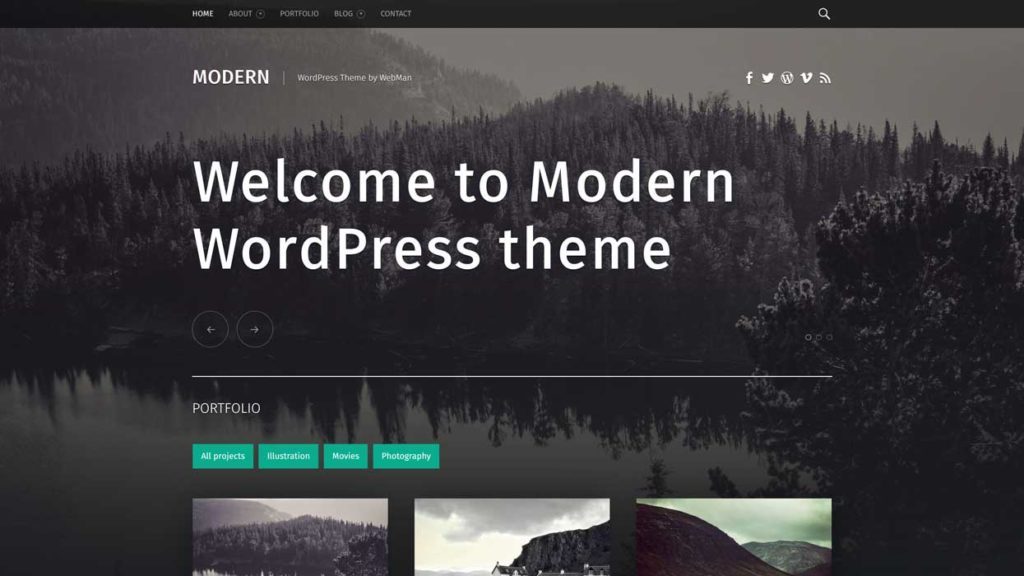
Step 4: Choose your Theme
At the top of this web page, you’d have seen a section with different website designs. If you were wondering what they were, let us make it easier.

What are Themes in WordPress?
WordPress themes are pre-built website designs that you can import and use on your website. It makes designing your website simple & easy by letting you just edit everything in a single click.
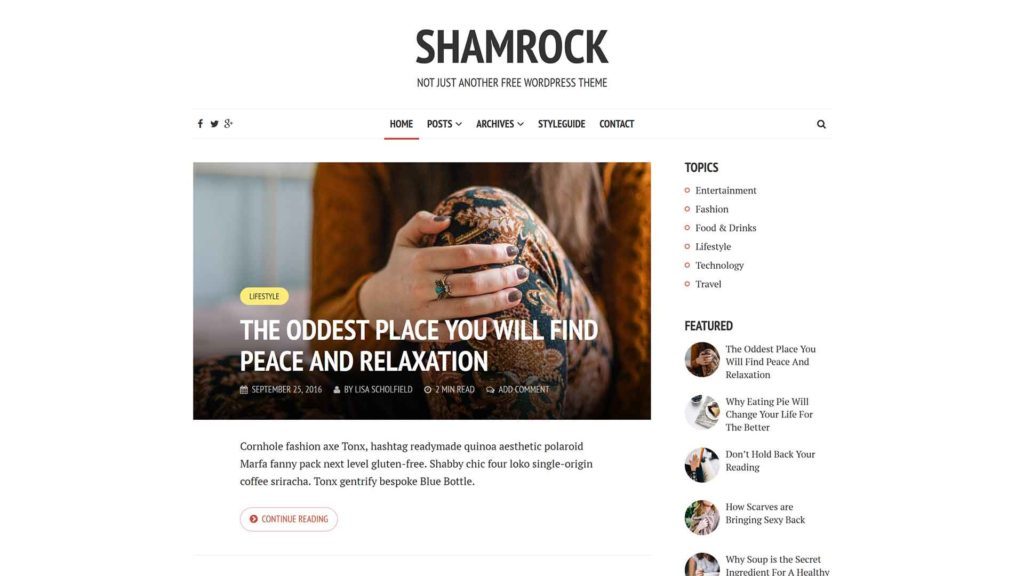
Some themes are designed for specific types of websites like eCommerce sites or photography portfolios. Other themes are more general purpose and can be used for any type of website.
Now, there are two types of WordPress themes available online.
There are quite a number of amazing free themes that offer enough features for your website to function well. But paid themes offer more complex features, designs, customizations, and scalability. Choosing a free theme or a premium theme truly depends on your website needs and functionality.
How to Choose the Right WordPress Theme?
When you’re choosing a WordPress theme, it’s important to keep your site’s purpose and audience in mind. If you’re building an online store, for example, you’ll want to choose a theme that includes eCommerce features and is designed for online stores.
Here are a few other things to keep in mind when choosing a WordPress theme:
- Make sure the theme is compatible with the latest version of WordPress.
- Check to see if the theme has been updated recently. A theme that hasn’t been updated in a while is more likely to have compatibility issues with the latest version of WordPress.
- Look for a theme that is responsive, meaning it will look good on all devices, from desktop computers to smartphones.
- Look for a theme that includes the features you need, such as ecommerce compatibility or a contact form.
- Read the reviews to see what other people are saying about the theme.
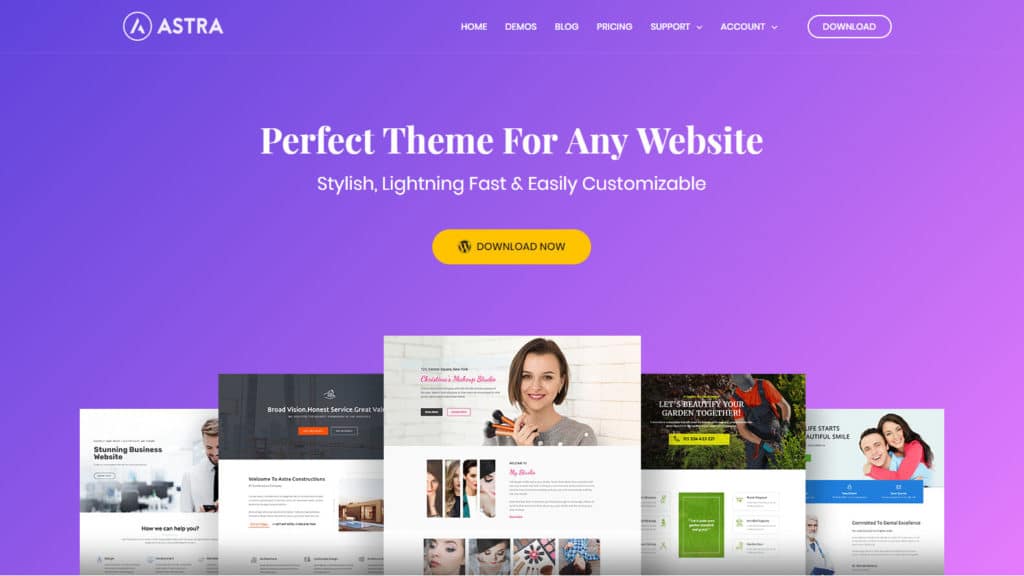
Our Top Recommended FREE WordPress Theme
That’s our top recommended WordPress theme because Astra offers endless possibilities of design & functionality for FREE.
Here are some of the reasons why choosing Astra will be the best decision for your website:
- Astra is the most popular WordPress theme.
- It is a lightweight theme (which means it doesn’t take up too much space)
- As it is lightweight, Astra is optimized for faster loading websites
- It is highly customizable
- Astra offers tons of free pre-built website templates
- It lets you customize every bit of its themes without any coding
- For all the features Astra offers, it is the fastest WordPress theme available and has the best performance
- Highly compatible with page builders like Elementor, Gutenberg, etc.
- Seamless & easy integrations with other tools
- Websites of Stanford University, Nasa, etc., use Astra as their website theme
These are just a few of Astra’s benefits, to begin with. You can check out the Astra theme and know more about its features,
here.
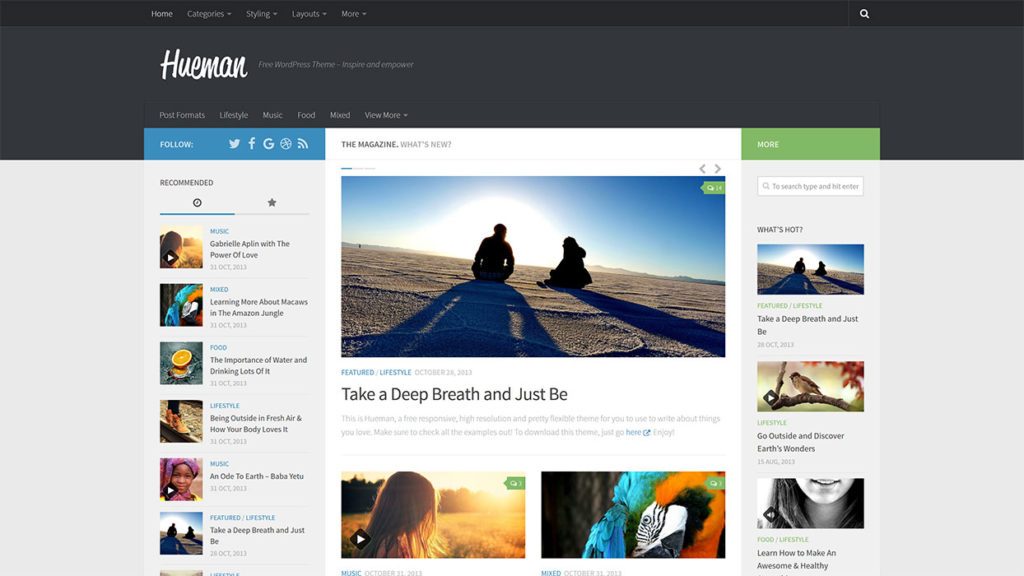
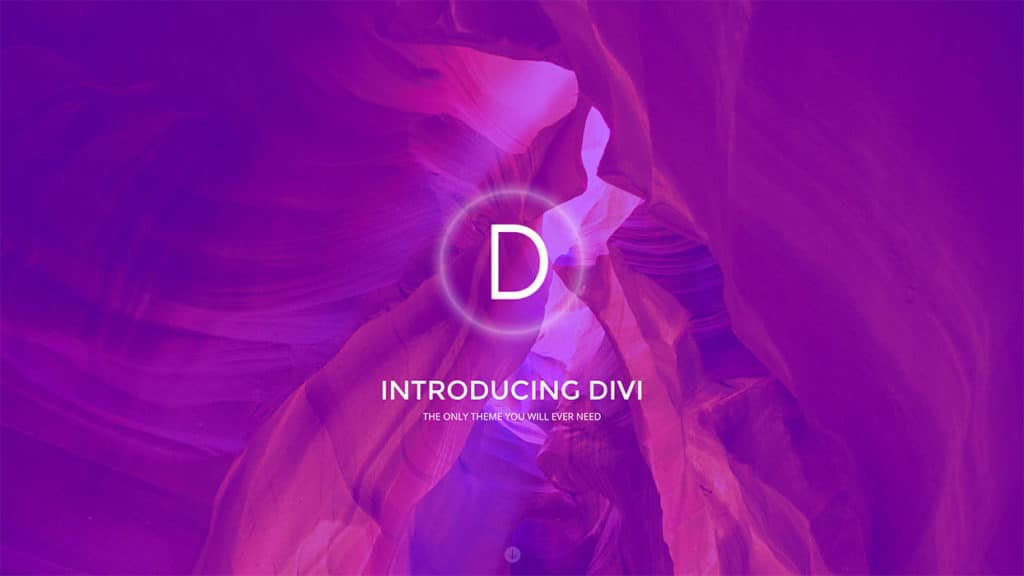
Other than Astra, here are a few other free and paid/premium themes that we recommend:
How to Install Astra Theme on your Website?
Installing the Astra theme is a simple & straightforward process. To install Astra on your website, there are 3 steps you need to follow.
Please check this quick, super short “How to Install Astra Theme in WordPress” post to know how you can install Astra on your website. This blog post consists of many images & GIFs to guide you better. Once you’ve followed the post to install and activate Astra,

The next thing we need to do is install something called “Starter Templates.”
Installing Starter Templates
Starter Templates is the website templates resource that Astra offers. Using this, you can choose any website design you want, import it to your site, and customize it easily to suit your preferred content.
Astra has made the Starter Templates installation process much simpler. Once you install Astra, the process of installing Started Templates will pop up for you, and you can easily follow along & do it yourself.
Once you’ve done that, you can choose any website you like from the Starter Templates and click “Import” to import the design to your website.
So next, let’s go to the
final step of making a website!
Step 5: Edit the Website Content
This is the final, most important & FUN step of creating a website.
Why is it so?
Because this is where we actually add in our website content, design the site the way we like, and experiment with the website building tools available at WordPress!

When you want to edit content on a particular page just go to that page on your browser and click “Edit with Elementor.” This will take you straight to the Elementor edit window.
Elementor is a simple page builder that lets you create your website using drag and drop.
How to Edit any Text on your Website?
To edit any text on your webpage, just select the text like this, and start typing your content.

To edit
to button text,
Just click the button text, then go to the side edit panel and type in your text.

How to change Images on your Website?


How to Save your Website Design Changes in WordPress?
Once you’re done changing all the text and images you want, you will need to save these changes. You can find the “Save” button at the bottom of the edit panel.

Also remember, if you quit the page without saving the changes, you will lose all your efforts and work so far. So don’t forget to save your work once you’re done!
This is how you can edit the content on your website. Now, WordPress and Elementor provide you with a separate Header and Footer editor.
How to edit the header and footer of a WordPress website?
To edit the
header, click on “Customize” and then click “Header.” You’ll find all the header editing options there.


To edit the
footer, go to (don’t click) “Edit with Elementor,” and you will see a dropdown option called “Footer.”

If we click it, we’ll get the option to change everything in the footer section.

So that is it! This is how we can edit the content on our website template in WordPress using Elementor.
How to create a new page or new post on your WordPress website?
Go to “New” and select what you want to create.This is how simple it is to create a website with WordPress.
Conclusion
Your website is your central platform on the internet. Whether you’re creating a business site, a personal site, a blog, or an eCommerce site,
The process of making the websites has been simplified because of the existence of wonderful tools & platforms like WordPress, Elementor, etc.
We believe this blog helped you learn everything about
“making a website in WordPress” in an easy & simple way.
If you liked this content, we’re sure you’ll love our YouTube channel of over 1 Million subscribers.
Be a part of our YouTube community & learn more about WordPress!
If you want to learn more seriously about WordPress website creation as a professional skill,
check out our courses page to build your skill set!
P.S: Our courses are absolutely beginner-friendly and consist of straight-to-the-point, actionable videos & quizzes.
So what are you waiting for?
Be a part of the Website Learners community,
the largest WordPress tutorial community on YouTube, and upskill your professional life.
Have any questions or feedback? Drop a comment/get in touch with us!