Bundle Sale Live! WordPress Site + n8n + GravityWrite at 54% OFF. Ends Soon! Buy Now
How to Create a Professional Thumbnail for Youtube to Get More Views (3 Easy Steps)
Posted onOctober 11, 2021by
Harshit Khandelwal
inGuides
Share
Are you a Youtuber wondering why your videos are not getting clicks?
When you’re designing YouTube videos, a professional thumbnail is a critical part of the entire process.
Without an appealing thumbnail, the engagement of your videos will suffer regardless of how excellent the video is.
It’s simple, if no one clicks on your video, no one will watch it as well.
Our YouTube channel has 940K subscribers at the time of writing this article, and some of our videos have got more than 13M views.
People appreciate our videos for their professionalism. Our team follows the best practices at every step of the production process, and designing professional thumbnails is an essential part of that process.
We spoke to our designer Joshua Gonsalves, and he has given a lot of meaningful inputs in coming up with this article.
In this article, let’s see how to create a professional thumbnail to beat the competition and get more views on your videos.
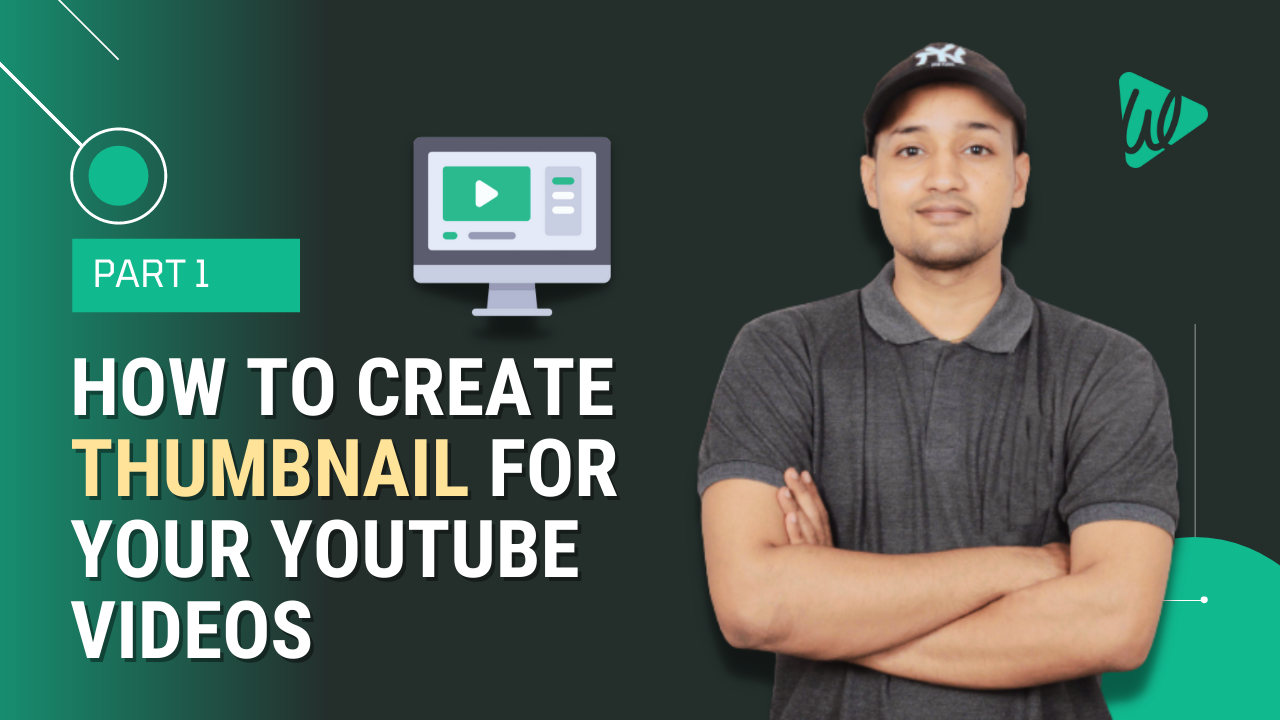
This is how your final Thumbnail design will look.
By the end of this article, you’ll be able to design a similar or even better thumbnail for yourself.
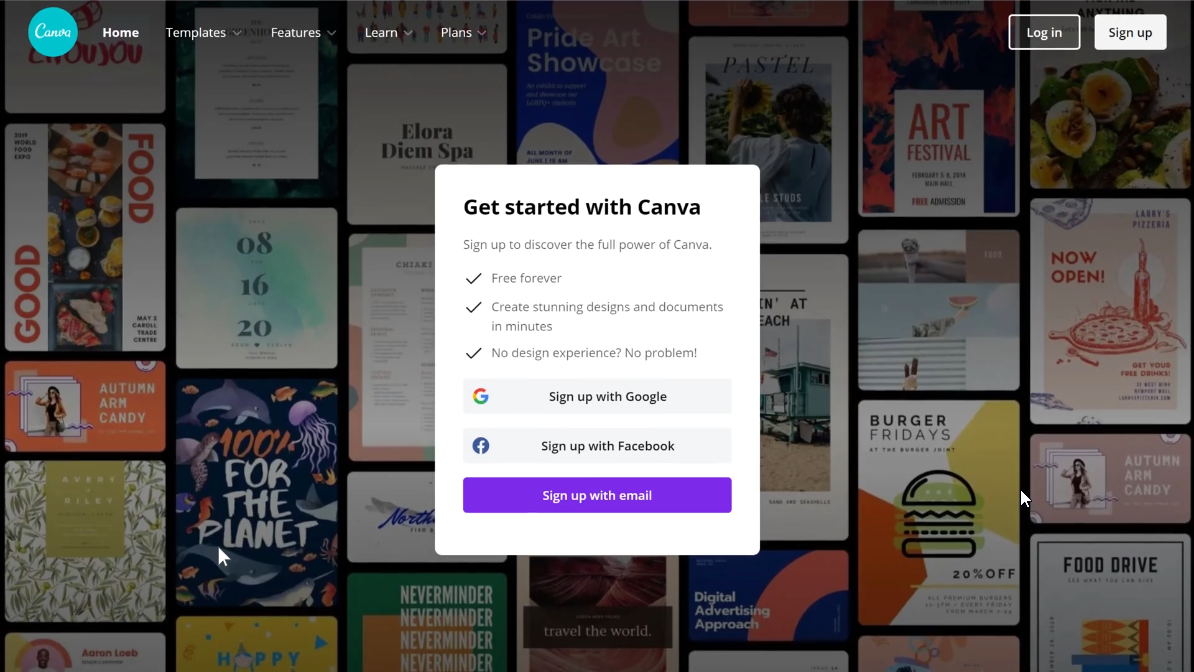
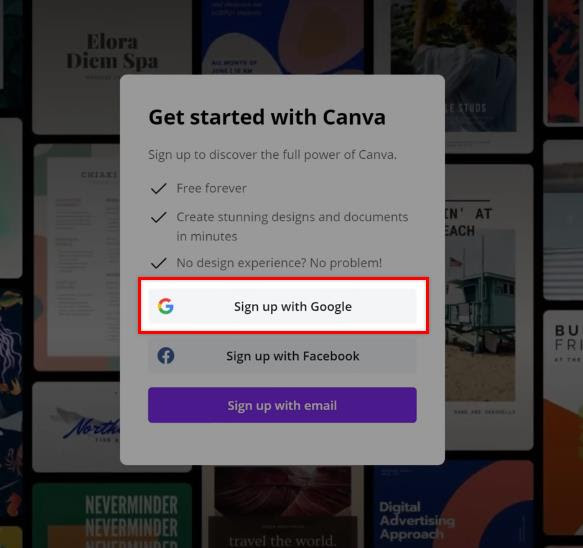
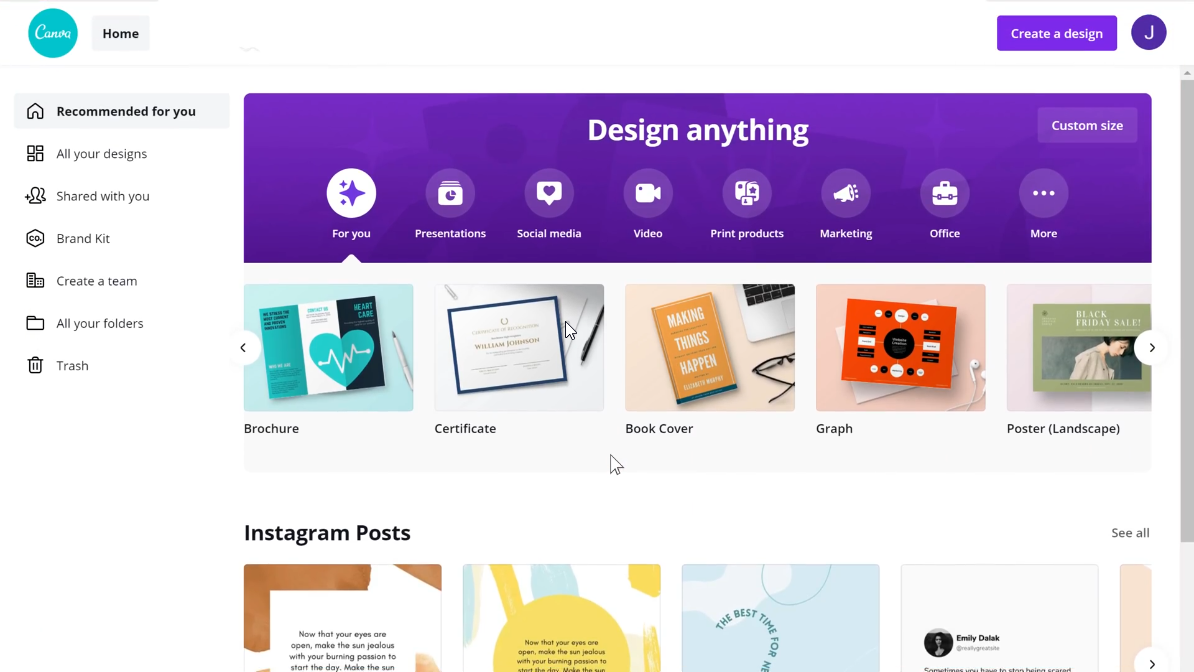
It’s going to be very easy, and you don’t need to have any special software on your computer to create a thumbnail as we’re going to use the free version of Canva.
To create a Thumbnail, we’re going to do three steps:
To make things clearer for you, we’re redesigning the thumbnail of WebsiteLearners as an example.
Here we’ll follow all the little details of the design process so that you can replicate it for your thumbnail.
Just before you start editing, select all the content by left-clicking and dragging your mouse. Now ungroup all the elements by clicking the ‘ungroup’ button.
1. Change the Background
To change the background image, first, you need to delete the existing background. So to delete it, just select the image and press ‘delete’ on your keyboard.
Now to insert a new image, click on the photos option.
And let’s say your video is about music, so just search for it, and you’ll get different backgrounds related to music.
To add the image, you just have to drag it and drop it in the corner of the design.
In the same way, you can search for any image that you want.
Our YouTube channel is about Website Development using WordPress, and we want to keep our design simple and professional, so I’ll choose a plain colour in the background.
You can also download images from the following websites and upload them on Canva.
You can upload any image by dragging and dropping it into Canva.
Quick Tip: Use a picture in the background only if you’re not adding the host’s image in the foreground, else it may look unprofessional.
We’re using a plain color as we want the picture of our host to be on the video, and if we keep the image in the background, then our design will look clumsy.
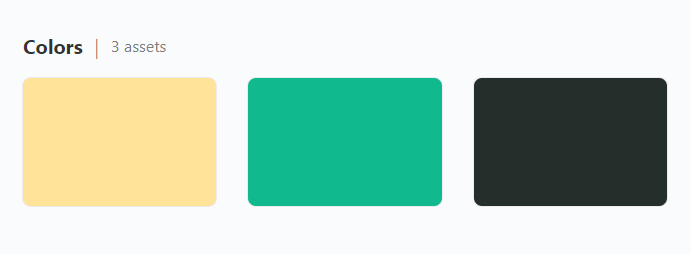
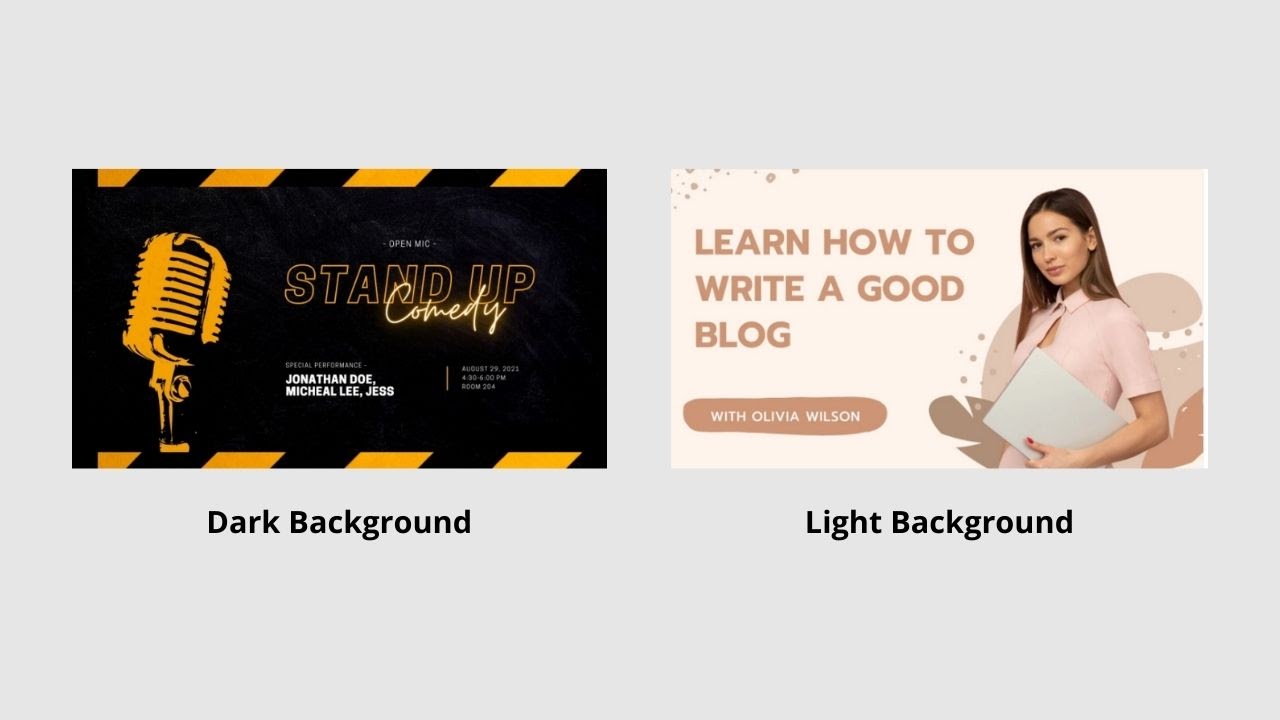
Just select the darkest or the lightest color from your brand’s color pallet to choose a background color.
Website Learners has three primary colors in its pallet.
Once you’ve selected the primary color for your brand, go to Color Hunt, where you’ll find a lot of color pallets to choose from.
Just go to the website and search for your primary color, and it will suggest tons of color pallets.
Quick Tip: Add the darkest color or the lightest color from the pallet to your background to make your thumbnail eye-catchy.
Just have a look at these thumbnails. Their background color is causing the main content to come out really well.
To change the background:
Click on the background to select it.
Next, click on the color icon at the top left.
Now paste the color code of your choice in the search bar and
Select the color.
If you don’t know your pallet’s color code, then just go to color hunt and click on any color to copy the code.
Once you’ve changed the background, let’s change the colors of other elements also. To change the color of any element, just select it and add the color as per your color pallet.
Quick Tip: To select multiple elements at once, press Shift and click on the elements one-by-one.
Once you’ve changed all the colors, let’s edit the font and content.
2. Edit the Content and Font
A. Content
It’s always challenging to decide what to write on a Thumbnail. For example, should you write the full title or just the primary keywords?
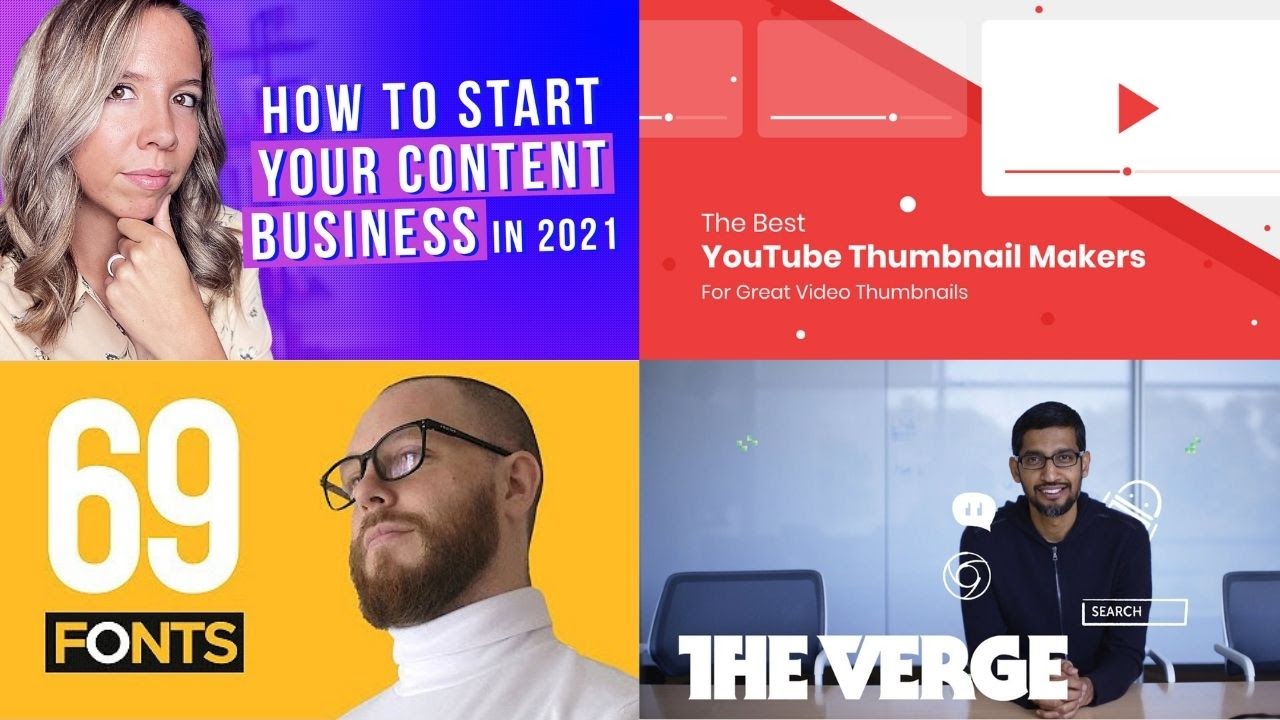
Here in this image, the first two thumbnails contain the exact titles, whereas the latter includes only the primary Keywords. So which one is preferable?
Well, it’s better to avoid the complete title on your thumbnail as your audience can read it just below the thumbnail of your video. So keep it short and simple, tell your audience only what they need to know, and leave the rest for the title.
If you’re writing the complete title, then highlight the primary keyword. To do this, either you can change the color or the size of the font.
Ultimately both the schemes are perfect. Just be consistent with the scheme that you use. See what people prefer in your industry and follow the same trend.
B. Font
To edit the text, just double-click on it and start typing your chosen title.
To reduce the size of this font, just click on it, hold one of its corners and drag it down to the appropriate size.
To change the font, select it and choose the font of your choice by typing in the search bar.
Now let’s change the line spacing so that the text is easily visible on small screens.
Let’s make our title more attractive by changing the color of our keyword. Our primary keyword is ‘Thumbnail.’
So to do that, just double-click on the title, select the word and change the color by clicking on the ‘A’ icon.
Once you’ve completed editing the font, let’s add a logo to our Thumbnail so that it looks more professional.
3. Add a Logo
To add a logo to canva, upload the logo image by dragging and dropping it into the left panel.
Before you add your logo to the thumbnail, remove all the elements that are not required on your thumbnail by selecting them and pressing delete.
Now, to add this image to your Thumbnail, just drag it and drop it on the top right or left corner and adjust its size such that it’s clearly visible.
As you can see, our Thumbnail is taking shape and looking more professional. So now, let’s give it a personal touch by adding a cover photo to this thumbnail design.
4. Add Your Cover Picture
A cover picture makes your thumbnail design unique and attractive, and it will immediately grab your viewers’ attention.
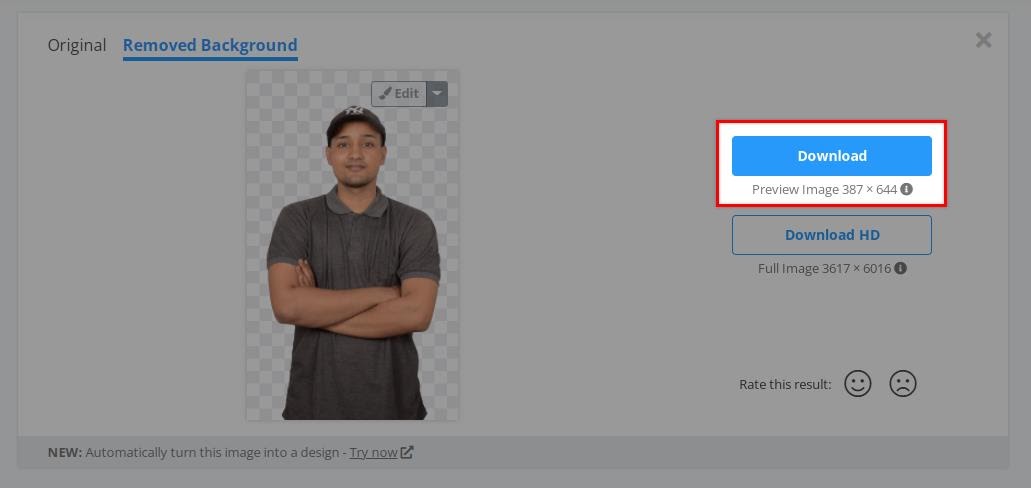
To add an image to our thumbnail, first, we need to remove the background from this image. To do that, go to removebg website, and drag and drop the image from your computer.
Now download this image by clicking on download.
Now upload this image to Canva and drag it on your thumbnail,
And resize the image by dragging its corners to fit the frame appropriately.
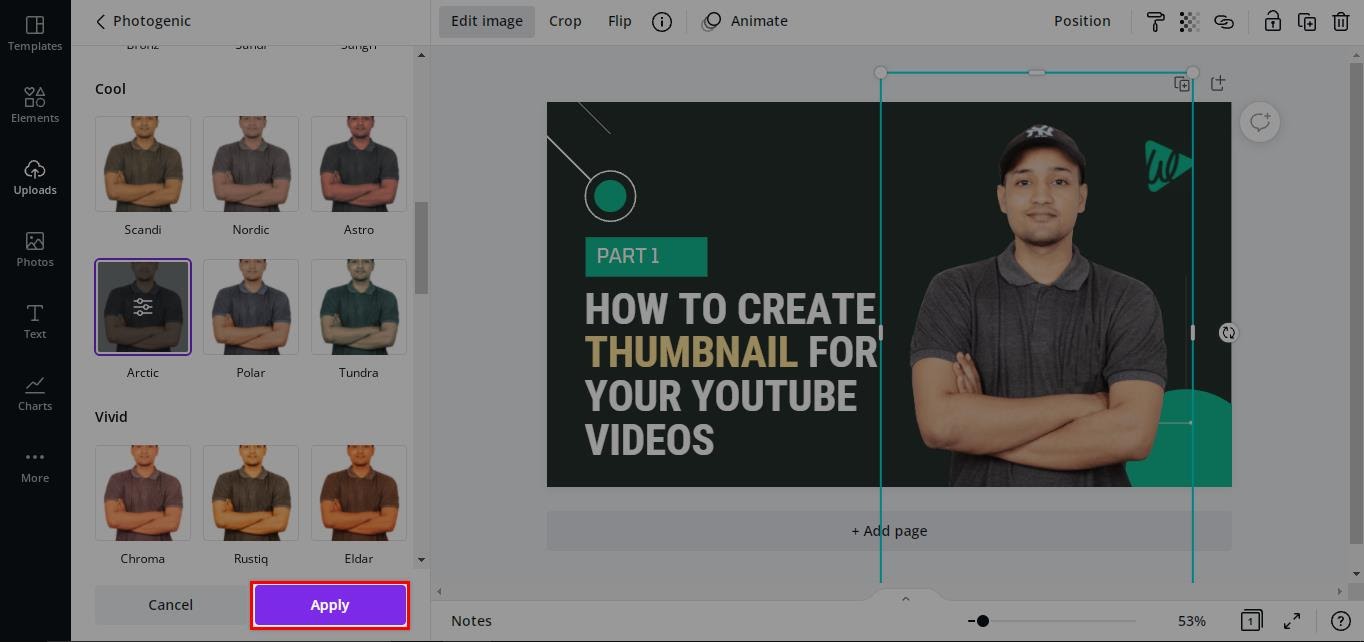
Now sometimes our picture is not bright or clear, so to edit that, just follow these steps:
a. Select the picture and click on the ‘edit image.’
b. Now scroll down and select the ‘photogenic’ option.
c. Select an appropriate effect for your image.
d. Once you’re satisfied with the results, click on ‘Apply.’
Quick Tip: Arctic effect will work well in all cases. It will give a plain white and clear effect to your image.
So now we’ve added our cover picture, so let’s add a few graphics to our thumbnail to make it stand out.
5. Insert a Graphic
Inserting a graphic can give a subtle creative touch to our design, so when people see it, they’ll immediately understand the purpose of our video.
You can add the graphic by searching it on the elements option in Canva.
Now insert the graphic by dragging and dropping it on your design.
Alternatively, you can also insert a graphic from a website known as Flaticon. Here you can find a lot of icons that you can download for free.
Just search the icon in the search bar.
And choose the icon of your choice and download it.
Now upload it on Canva by inserting it into your design, and resizing it to fit the style.
Note: Don’t forget to attribute the designer of this icon.
Once you’ve inserted all the graphics, it’s time to add some special effects to our design to make it look a bit classy.
Bonus: Adding Some Extra Graphic Elements
1. Editing the Icon on Flaticon
You can edit the color of the icon on Flaticon as per your brand colors. It will give a professional touch to your design, and it won’t look as if you’ve taken the icon from somewhere else.
And once you’re satisfied with the design, download it by clicking on the ‘download.’
Now repeat the process we did earlier to upload the design on our Thumbnail, and this is how it will look.
2. Add Gradients in your Image Background
Gradients add a few noticeable details to your designs, and they make a good impact on your design.
To do this, search for gradients in the elements tab and insert it by clicking on the design that you like.
Enlarge it by dragging the corners and changing its colors.
Now take this gradient in the background by changing its position, as shown here.
And bang-bang, our background is looking unique now.
Our main character is looking very simple, let’s find a way to pop it out of the picture.
3. Make Your Primary Elements Stand Out
There are two primary elements in our thumbnail right now, i.e., the text and the cover picture.
To make the text pop out, we can add a subtle shadow effect in the background of our text, as shown here.
To do this, just select the text, click on the ‘Effects’ option, select the appropriate effect and change the color.
You can also add the shadow effect to the images in the Thumbnail, as shown here. To do this, just select the image, click on the ‘edit image’ option, select shadows, and select the appropriate shadow effect of your choice.
This is how our thumbnail will look after the final touch-up.
And as the saying goes, the sky has no limits, so is your imagination. Look at other thumbnail designs for more inspiration and insert the factors that you find unique into your design.
Learning never stops, and trends keep on changing. So what convinces your audience to click on your video today may not convince your audience tomorrow.
So keep your eyes on your competitors on how they’re evolving to match the market needs and try to stay one step ahead of them.
Conclusion
So, that sums up the process of designing a professional Graphic for your YouTube videos.
Running a successful YouTube channel demands a lot of hard work as more and more creators are coming out every day.
Having a perfect thumbnail for your YouTube videos convinces your audience that they’re clicking on something worth watching.
But with the tried and tested method that we used in this article, we’re sure you can design a perfect thumbnail for your YouTube videos.
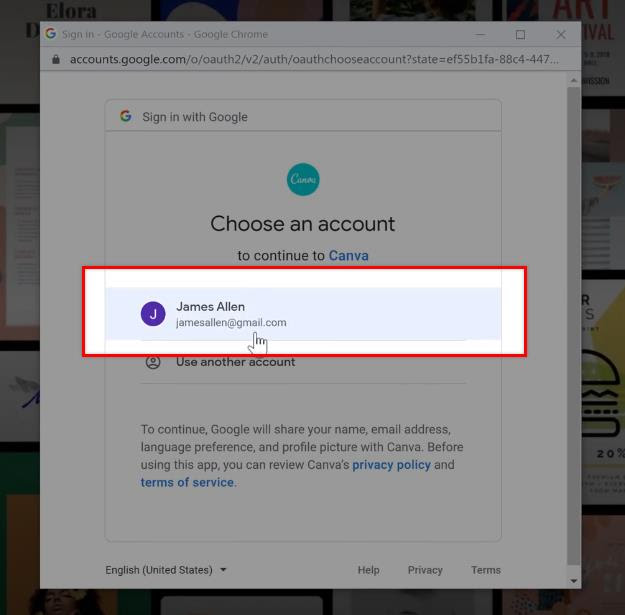
Start by creating an account on Canva and choose a template. Next, start editing your design and follow the steps mentioned here in this article.
We also discussed some bonus techniques to change the color of icons, adding a shadow under the text and the primary elements.
Now that, if you have followed the steps mentioned in this article, I’m 100% sure that you know how to create a professional thumbnail for your YouTube videos. So, what are you waiting for? Just go and use it for your next YouTube video.


Add a Comment
Leave a Comment