Bundle Sale Live! WordPress Site + n8n + GravityWrite at 54% OFF. Ends Soon! Buy Now
How to Create a WordPress website in 2023 - A Step-by-Step Guide for Beginners
Posted onMay 27, 2021by
Swarna Rajan
inWeb Development
Share
Do you want to create a website on your own?
Do you wonder whether you can create one without any coding?
Then, WordPress is the answer you’re looking for!
With WordPress, you can easily create your own website by drag and drop, without having to write a single line of code. So, in this article, we will look at,
All you need to have is a proper workflow to create a WordPress website. Because even though WordPress is not technical, it can get quite confusing for beginners.
But, Don’t worry.
In this blog, we will show you a simple step-by-step process to create a WordPress website in no time.
However, the first thing that gets most beginners confused is the choice between WordPress.com and WordPress.org. Yeah! They are two different things even though they share the same name!
The main difference between the two is who’s hosting your website. WordPress.org is self-hosting, meaning you are hosting your own website. Whereas WordPress.com means that WordPress has control and it takes care of your website.
And, a little disclaimer, in this article, when we say WordPress, we refer to WordPress.org and not WordPress.com.
With that out of the way, let’s go ahead to create a WordPress website. To begin with, let’s get a new domain, and a hosting provider to host your website.
A domain is the name of your website that a visitor enters in the search bar to access your website. And Hosting is where all your website’s files are stored. So, a hosting provider has servers that are responsible for storing all the website files.
Step 1.1: Get Domain and Hosting
With thousands of hosting providers in the market, you need to take into account several factors before choosing the right host. But, Guess what? We have done it for you.
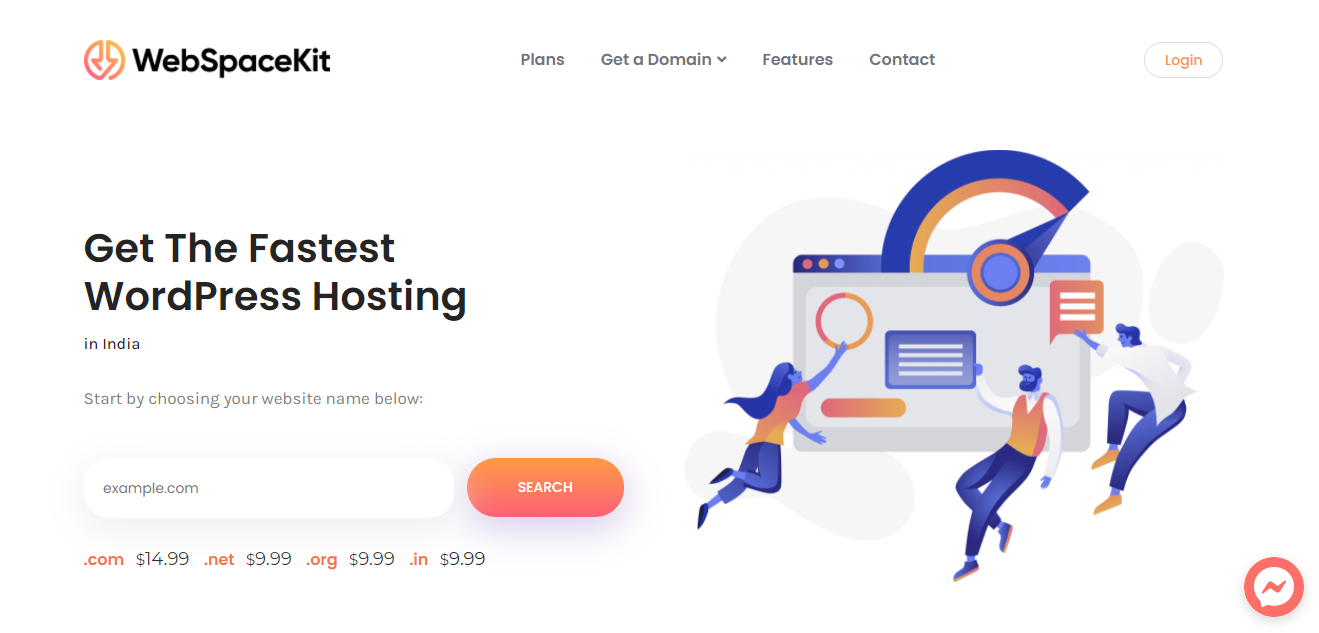
We have carefully considered several factors like Speed, Storage, bandwidth, and chosen WebSpaceKit to create a WordPress website.
The primary reason why we chose WebSpaceKit is the website speed that comes with it. With strategically placed servers in India and Singapore, WebSpaceKit offers the fastest website loading time of all WordPress hosting providers in India.
Also, WebSpaceKit stands out from other hosting providers like Bluehost and Godaddy because of “no surprise jumps in renewal rates”. Unlike other hosting providers, WebSpaceKit doesn’t show a steep increase in renewal rates and keeps it the same as sign-up price.
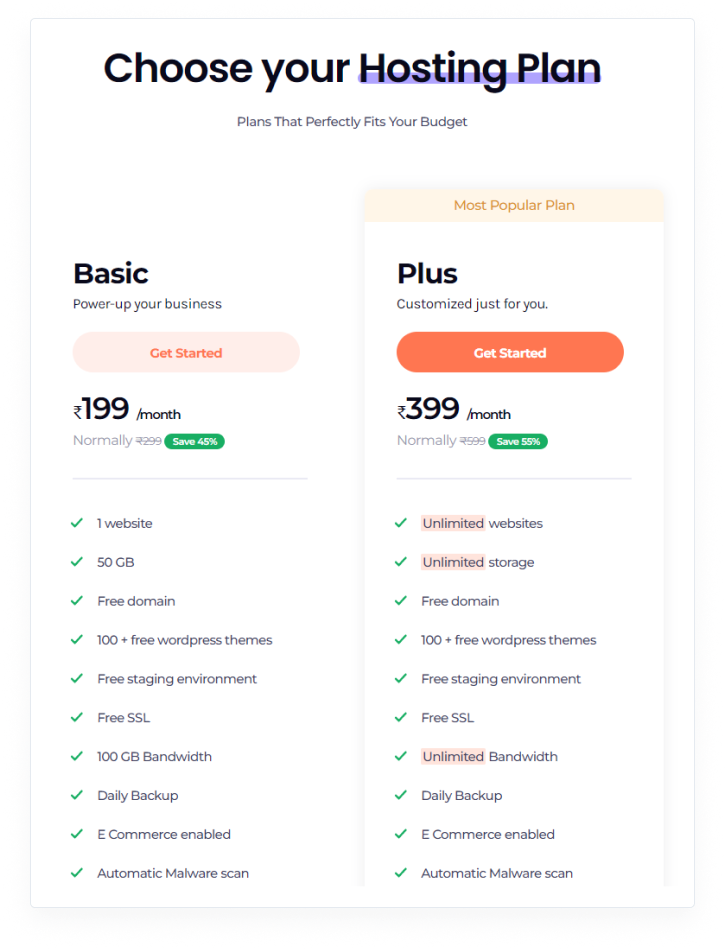
Being the fastest WordPress hosting in India, WebSpaceKit has four different hosting plans that will rightly fit your budget, namely Starter, Pro, Business, and Geek, starting at just ₹199/month.
To start, choose the hosting plan of your choice and click Choose.
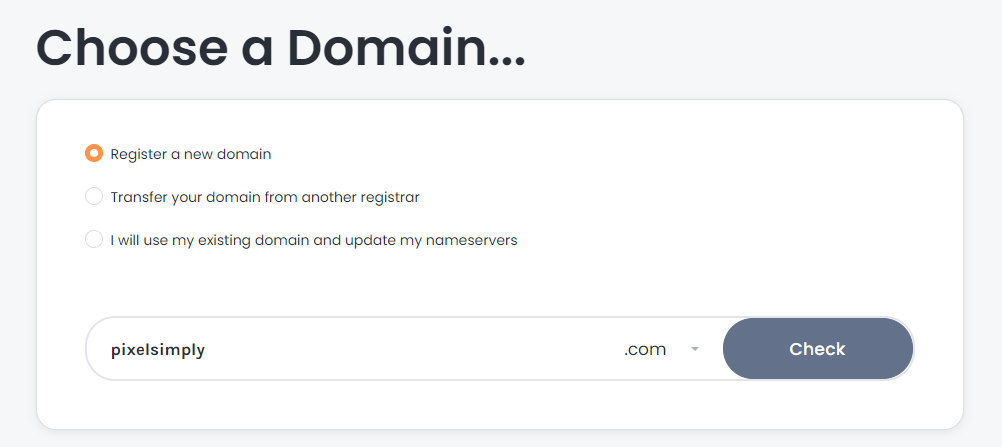
After carefully analyzing the hosting plans, and choosing one of your choices, you will be redirected to the Choose a Domain page. Here, you can either,
Register a new domain for your website,
Transfer an existing domain from another registrar, or,
Use the same domain name and only update the nameservers.
As we are just starting, we will register a new domain name for the website. Click Check after entering the domain name of your choice.
We are going to enter ‘pixelsimply’ as our domain with extension ‘.com’ and check whether the domain is available.
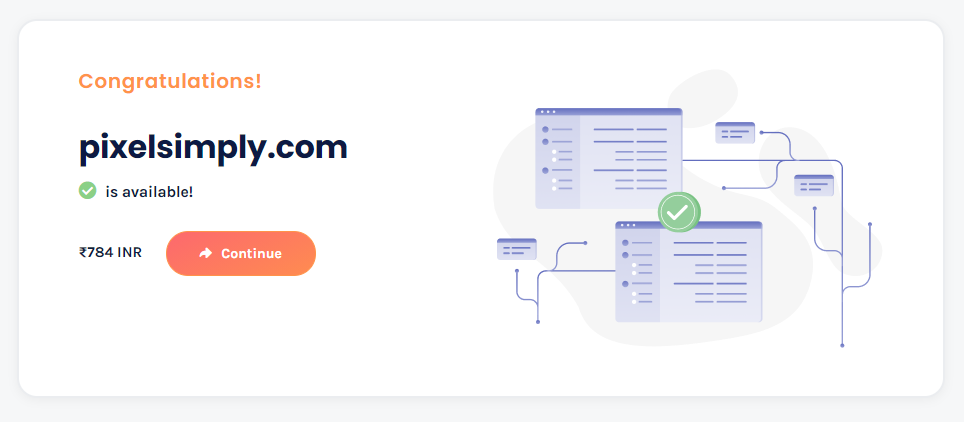
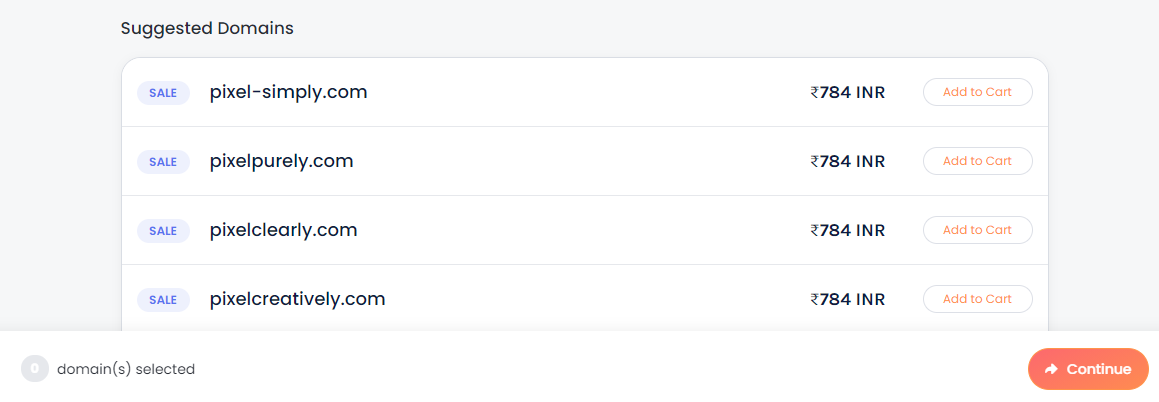
As you can see, ‘pixelsimply’ is available and up for grabs. If the domain of your choice is available, you can click Continue to add it to the cart. In case the chosen domain isn’t available, you can choose one from the alternate domain names displayed.
Once the hosting plan and domain name are chosen, you can then decide the billing plan of your choice, to either 12 months or 24 months, or 36 months. And click Continue.
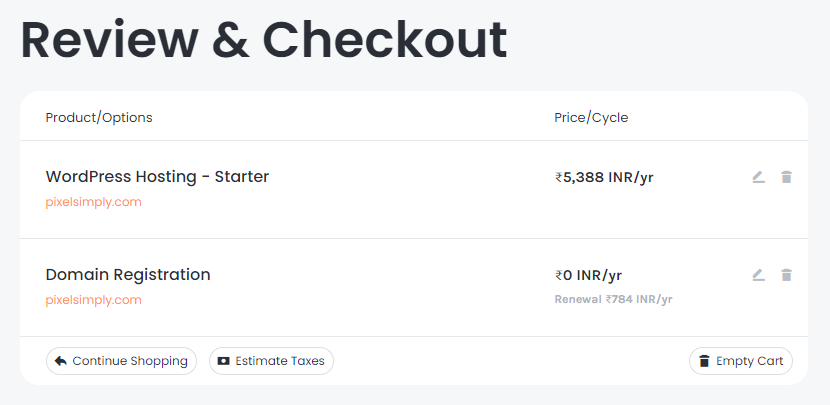
Now you will be redirected to the Review & Checkout section. Here, first, review the hosting plan and domain you have chosen.
Step 1.2: Create a New WebSpaceKit Account
In the same Review & Checkout section, scroll down to Create a new account by entering the Billing Details.
Scroll down further to choose the Payment method and enter the Payment details.
With payment details entered, click Order Now to complete the purchase. With that, we are well on our way to create a WordPress website.
Once the order is confirmed, click Continue To Client Area.
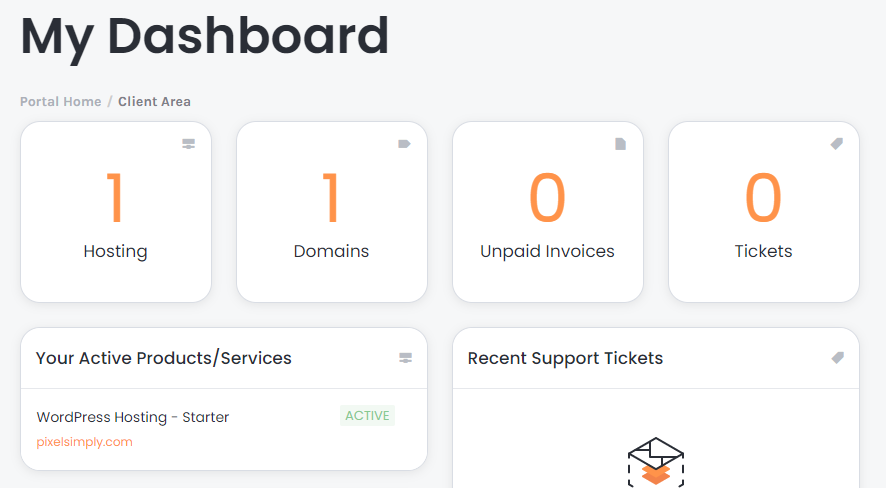
Now, you have successfully purchased Domain and Hosting for your WordPress website. And with WebSpaceKit, WordPress will be automatically installed, as you can see the Active status in the dashboard.
Now your website will be live on the Internet. To check how your website looks, enter your website address in the browser’s address field.
Step 2: Create your dream WordPress website
Though our website is live on the Internet, the default theme doesn’t look attractive, right?
We should consider this newly launched website as a plain canvas and start customizing it to build our dream WordPress website.
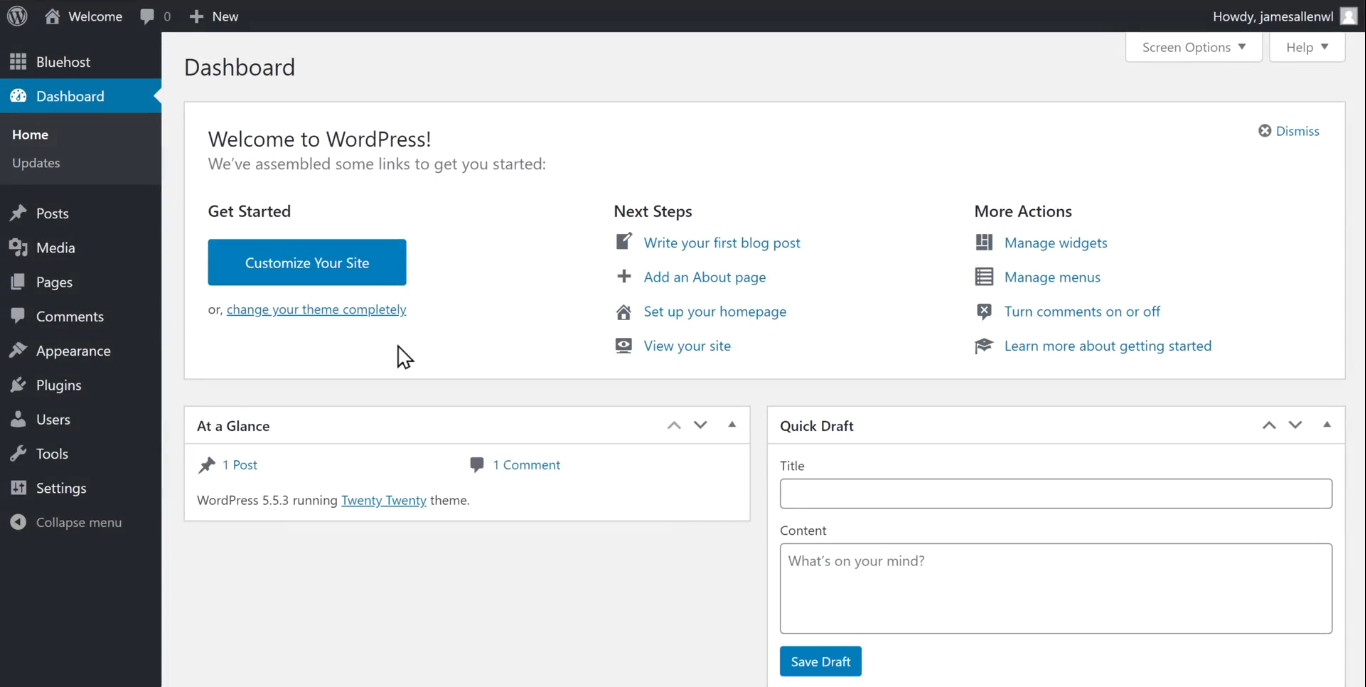
To start customizing the website, let’s first log in and enter our WordPress dashboard.
To login, enter ‘/wp-admin’ at the end of your website URL. This opens up the WordPress login page. Here, you can enter the credentials and click Login.
With WebSpaceKit, your hosting account information will be sent as an Email that contains the WordPress account details.
You can login using these credentials to access the WordPress dashboard.
Now that we are in the WordPress dashboard and successfully launched our website, we will now make our WordPress website more attractive and stand out from other websites in just two steps,
A theme dictates the overall look and feel of the website. And to our convenience, WordPress comes with thousands of free and premium themes by default in its Themes directory.
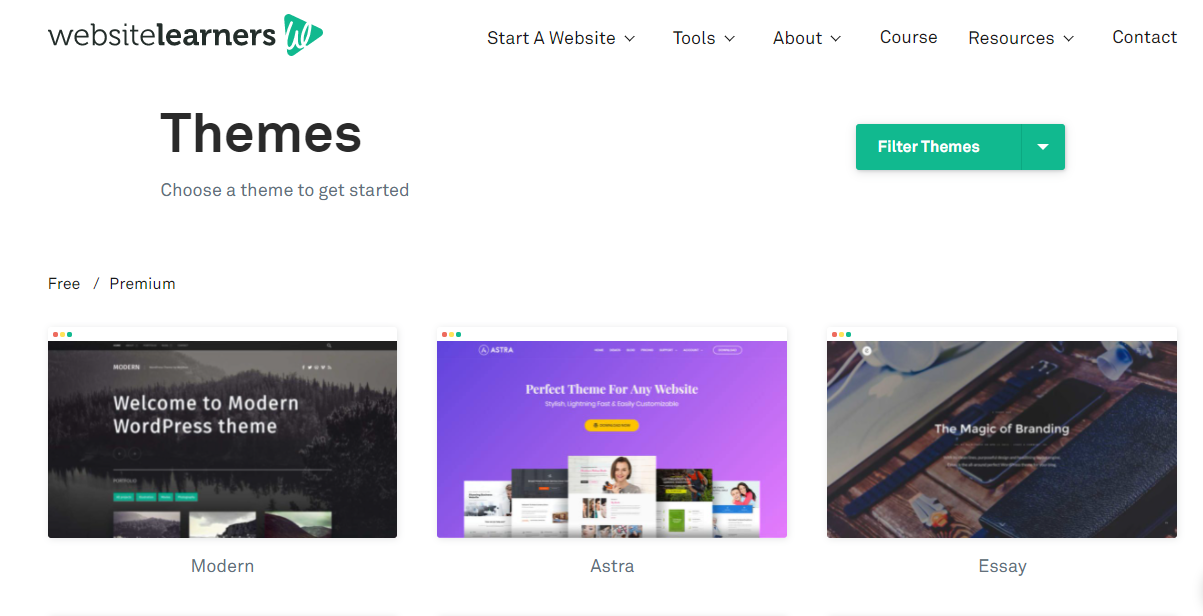
With these many themes available, you need to be mindful of choosing the right one for your WordPress website. And considering how important it is to have a responsive website, you need to choose the one that’s mobile-friendly and responsive on all devices, like Astra.
Astra is one of the most popular themes widely used by websites across the world. It is lightweight, has excellent design controls, and provides lightning-fast loading speeds.
Here on the Themes page, Select Astra from all the themes and Click Download.
Now the Astra theme will be automatically downloaded on your computer.
Install the Astra Theme
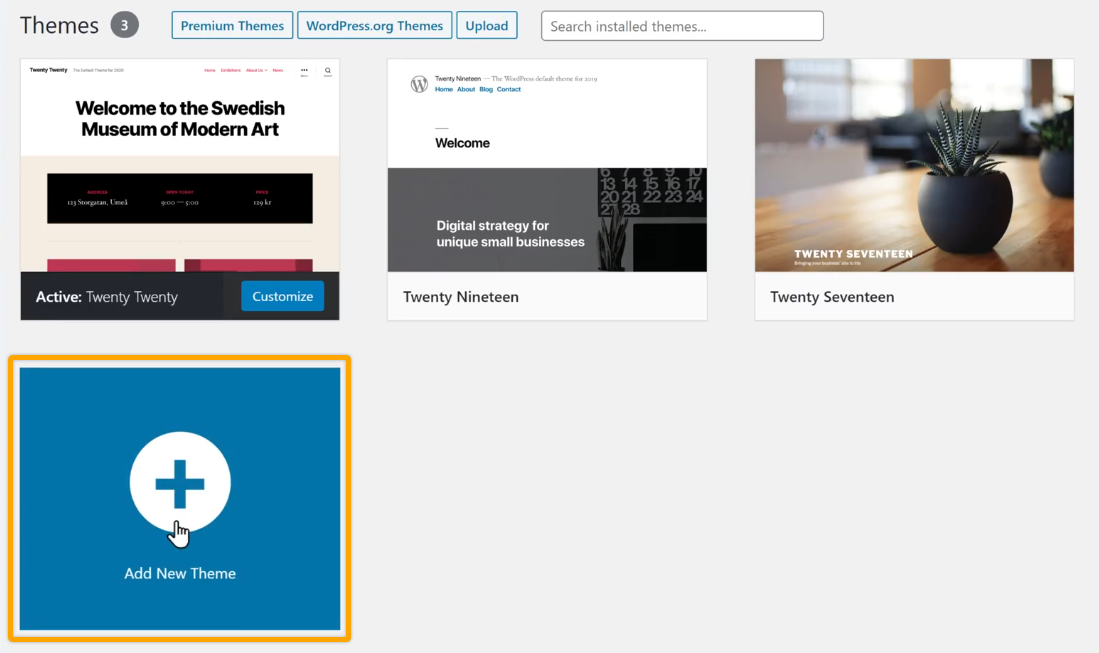
To install the downloaded Astra theme on the website, let’s go to Appearance and then Themes.
Here, in the Themes section, the default set of WordPress themes will be displayed along with the active one. As we are going to add a new theme, click Add New Theme.
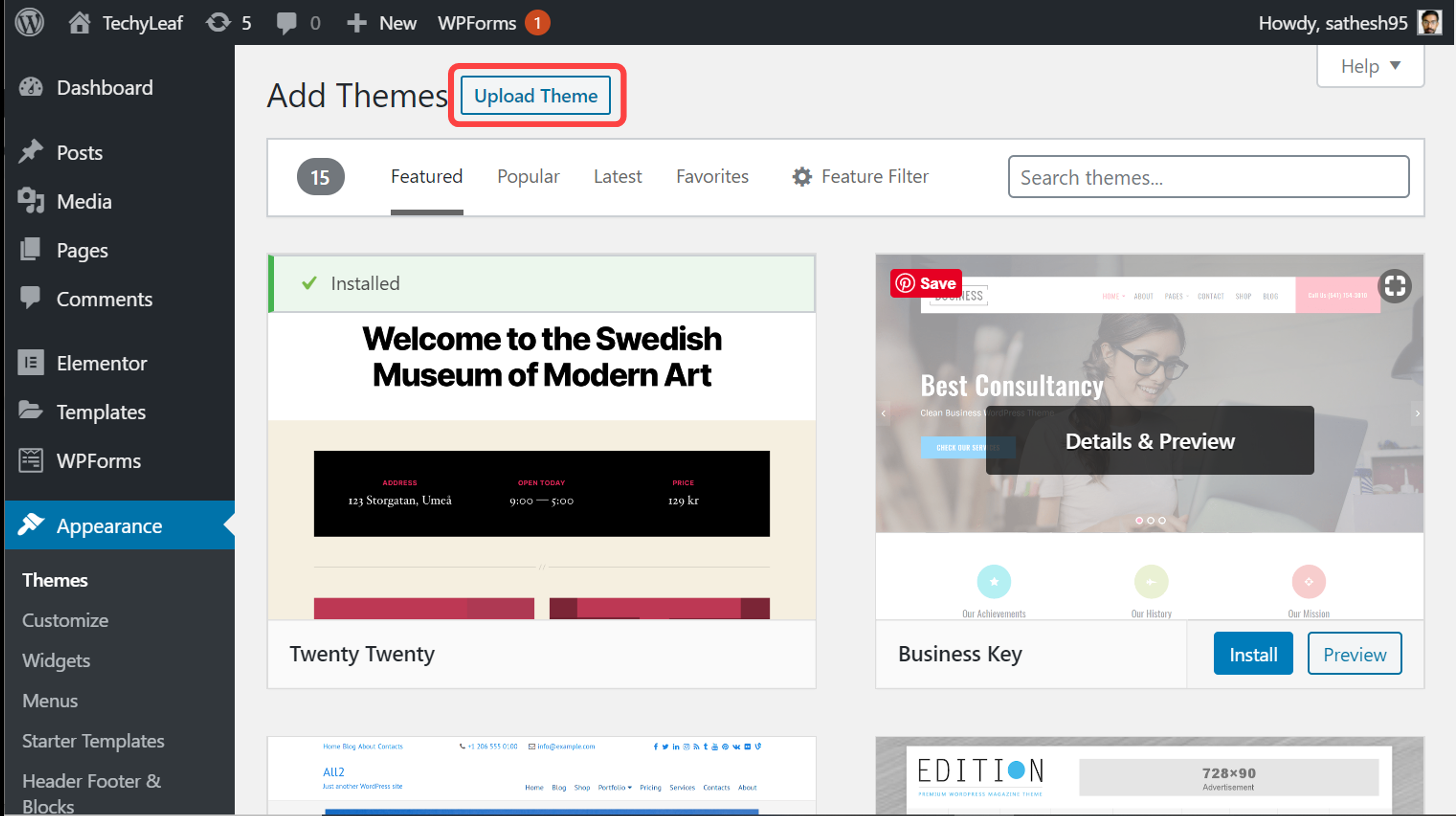
In the Add Themes section, choose Upload Theme.
Now, click Choose File.
Then select the downloaded zip folder of Astra and click Open.
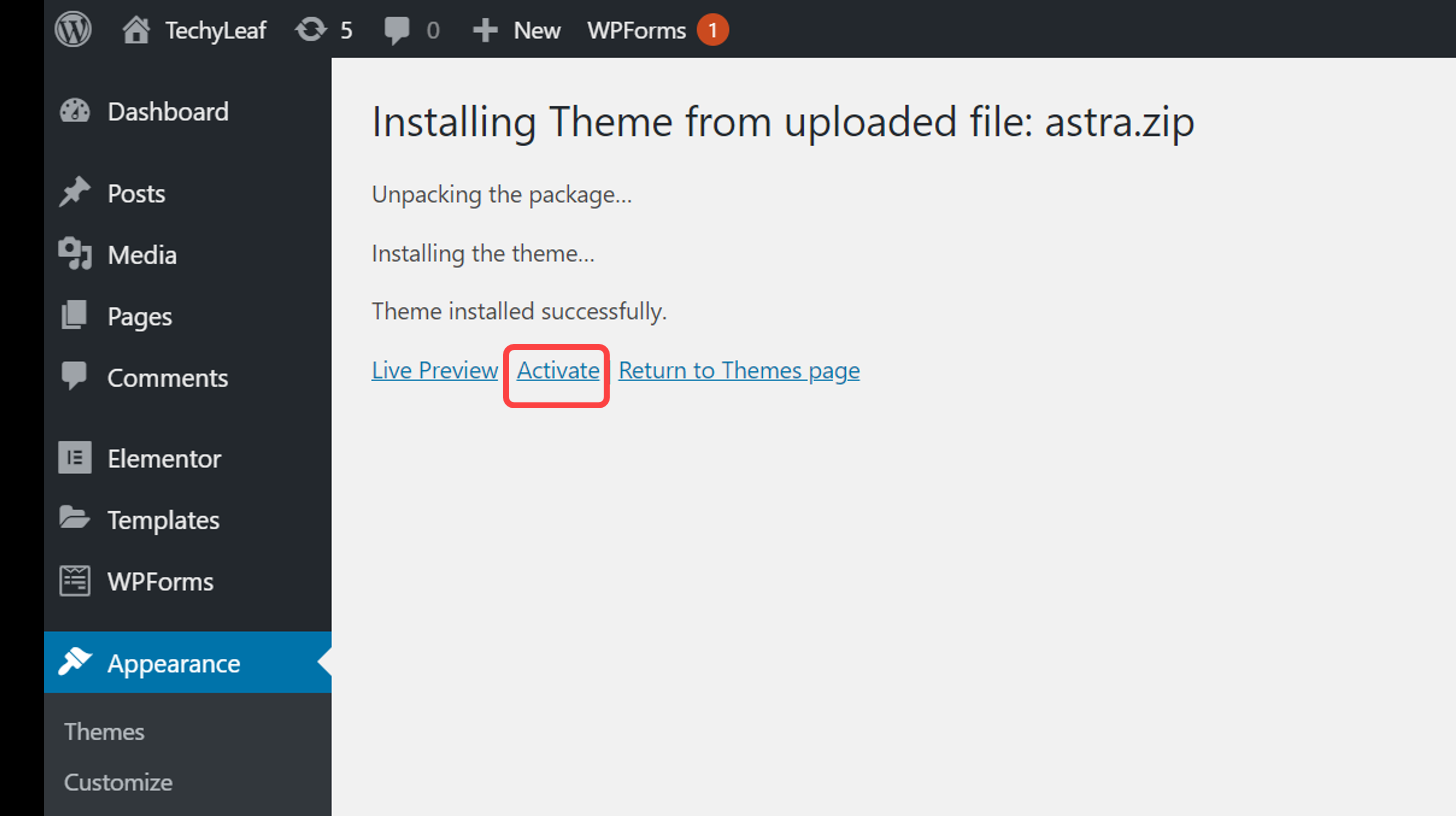
Once the file is loaded, click Install Now to install the Astra Theme.
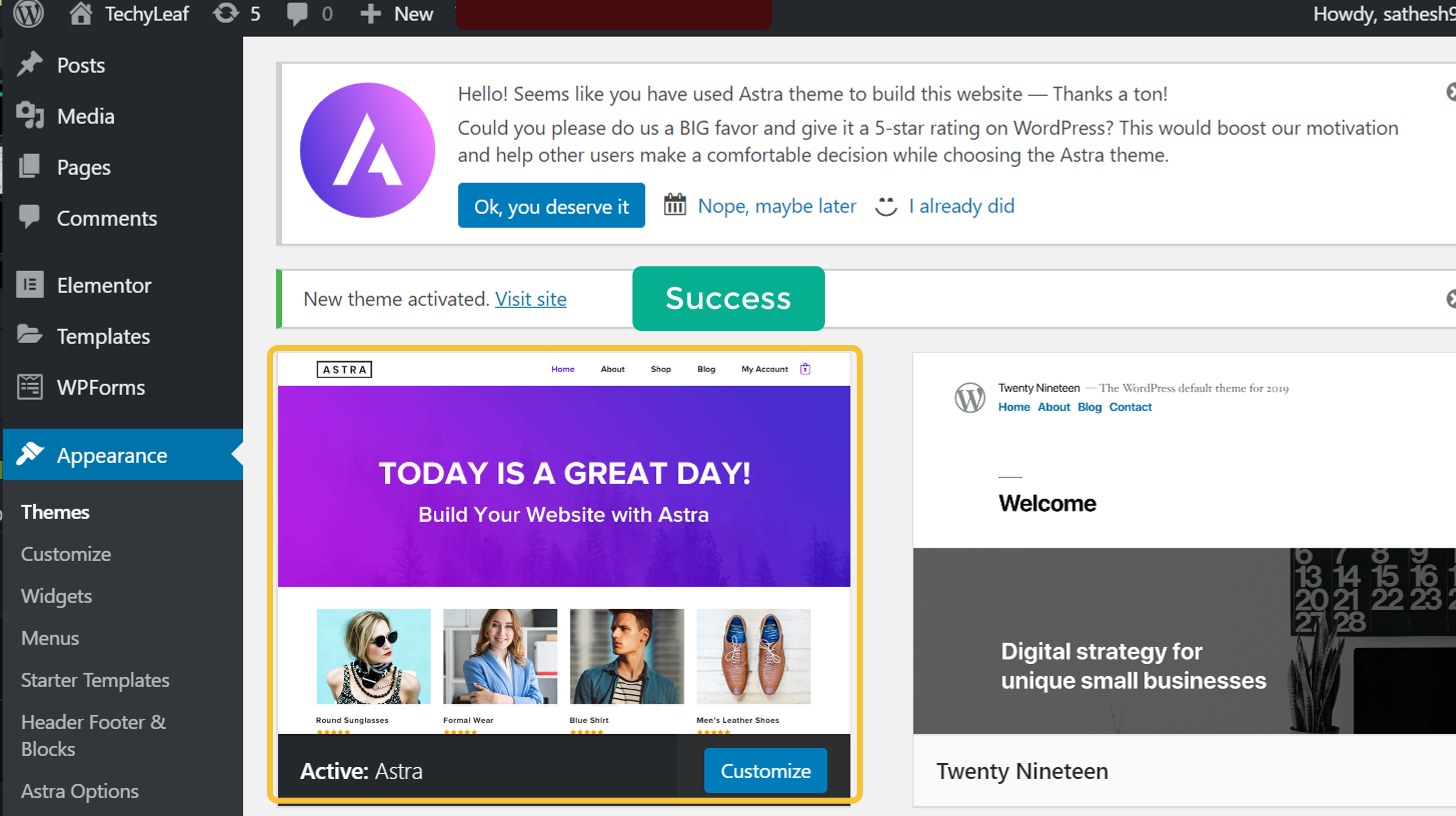
Once the Astra Theme is activated, click Activate to activate the theme on the website.
And with that, we have successfully installed and activated the Astra Theme on our WordPress website.
Astra theme by default provides its users with hundreds of pre-built website designs. So, to import a design of your choice, click Customize.
This will open up the Select Page Builder section. The various templates provided by Astra can be customized using the different page builders displayed, namely Elementor, Beaver Builder, Gutenberg, and Brizy.
Of all the available website builders in this section, we believe Elementor will be the best fit for your website. With its beginner-friendly interface and easy drag-and-drop builder, there is no match to Elementor for people starting out on website creation.
With Elementor, it’s like, if you can imagine a feature, they probably have it already! Yeah, be it images, sliders, or even maps, Elementor has blocks for every single feature you can use to build a WordPress website.
So, click on Elementor in the Select Page Builder section.
Once you choose Elementor, the list of all the pre-built templates by Astra will be displayed. Here, you can go through the templates and then choose one of your choices.
Click once on the template to check how the design looks on different pages of the website. Once you are satisfied with the template, click Import Complete Site.
With the dialog box that opens up, make sure everything is checked, and click Import.
Now this template will be imported successfully to your website.
To check how the imported template looks on your website, go to your website and click refresh.
As you can see, the website looks exactly like the template we selected.
It is to be noted that even the different web pages have the same theme installed.
And with that, we have successfully installed a responsive theme for our website. Before finishing building a WordPress website, there is only one thing we need to do. That’s editing the content of our website.
Step 2.2: Change the default content
As you can see, our website now has the default content that comes with the template we imported from the Astra theme. So, we need to change the content and even sections of our website as we wish.
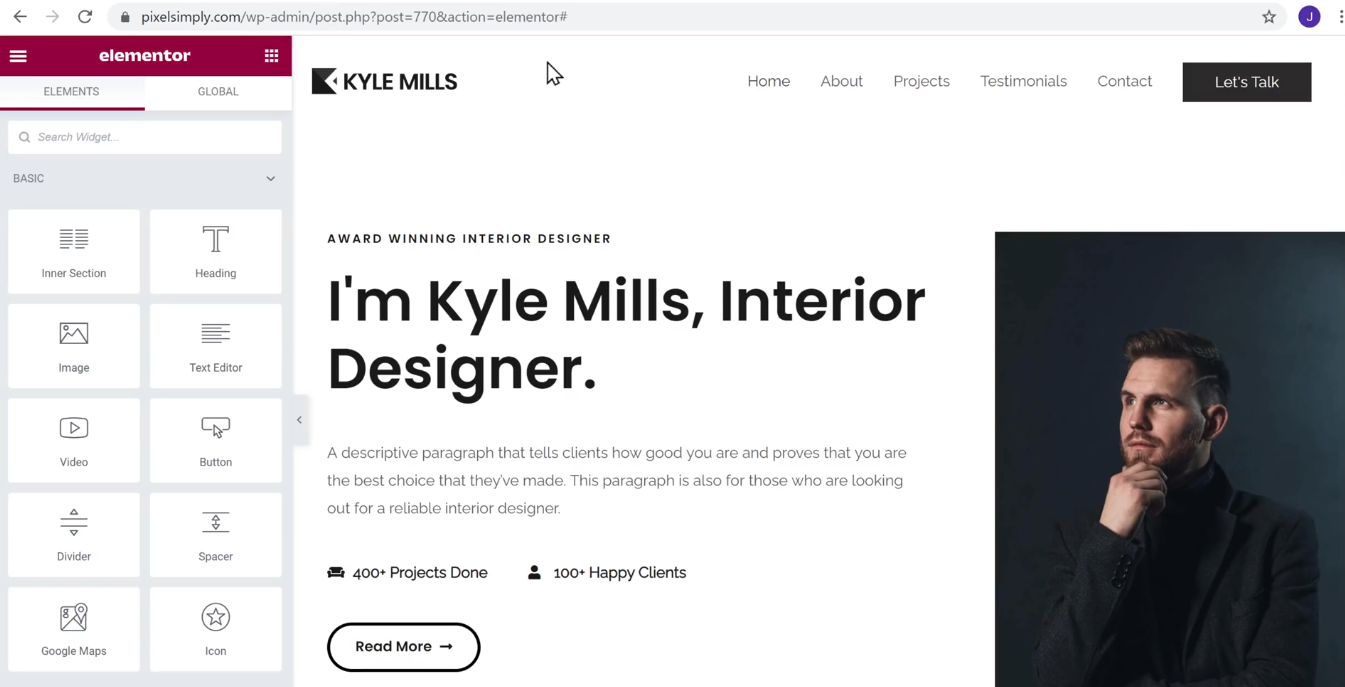
To do so, choose the webpage you want to customize and click Edit with Elementor. Remember when we choose Elementor to be the page builder in the previous section? Yeah, so we will be editing the content, and customizing our website via Elementor.
Once you click on Edit with Elementor, you will be redirected to the Elementor page builder in its editing mode. Here, you can change the existing text, images and even add new blocks for various other features.
Replace Text and Images
With Elementor, editing the existing text and images is quite easy. To edit a text, all you need to do is select the text you want to change, and start typing your own content.
You can also notice how a Title section pops up on the side of the Elementor Page builder. And editing text in your Elementor is not just limited to the Headings, but you can even change the text on buttons the same way.
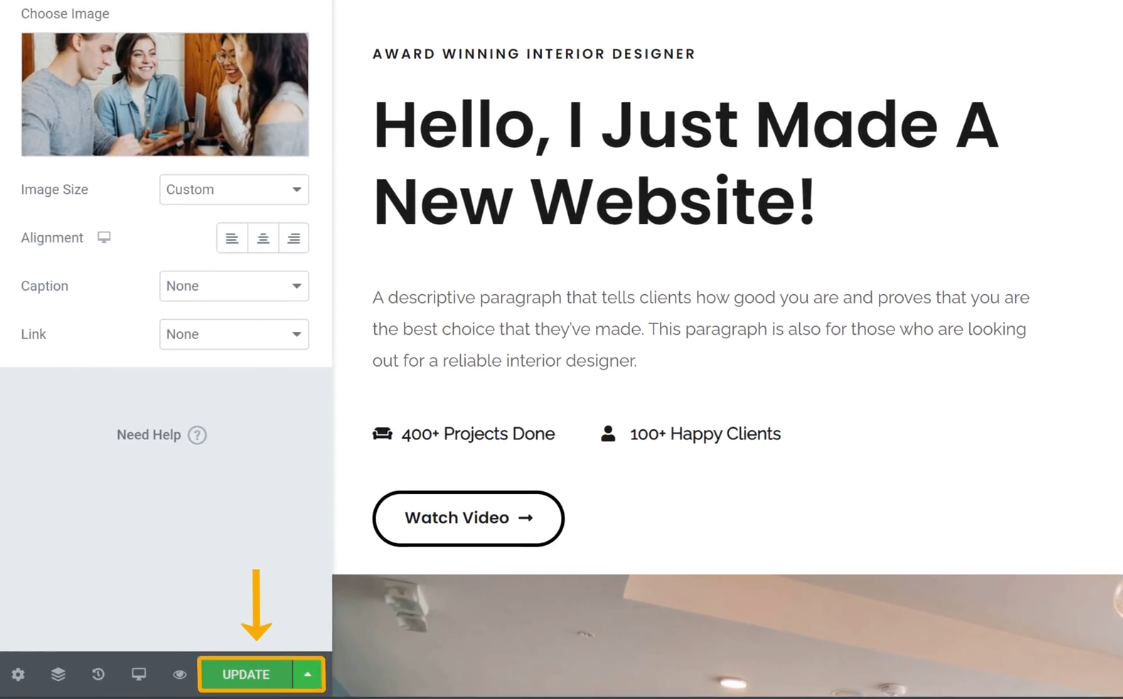
Likewise, to change an image on your website, just select the image and click Choose Image from the Elementor section on the side. Here, you can either upload a new image or just one from the Media library.
And that is how you can edit any kind of text or image on your website. Since all of the pages are built using Elementor, this applies to all the web pages of your website.
Once you are done with all the text and image changes, you need to click Update at the left bottom of the page.
This will make the changes to your website. You can refresh your website to see if the changes are reflected.
Edit the Header section
Though the text and images in the body section of your website can be changed using Elementor, the header section can’t be modified using the page builder.
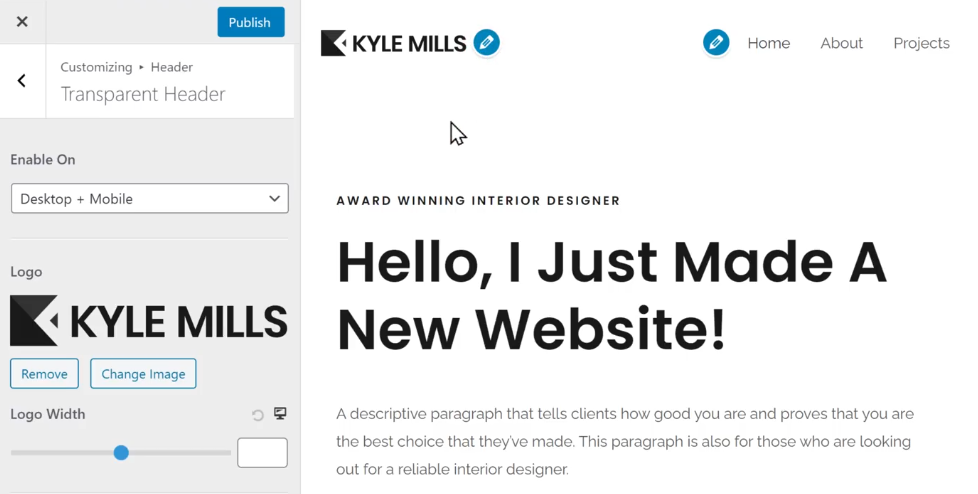
To edit the header section, you need to click on Customize instead of Edit with Elementor.
This will open up the default WordPress customization page. Here, you can edit any part of the header section by clicking on the small blue icon by its side.
This includes the Logo or even menus that are available in the header section. Similar to editing images in Elementor, you can easily change the Logo and menu using the side section of the page.
Once all the changes are made in the header section, you can click Publish. This will reflect all the changes on your website.
Until now, we have been editing the default content that comes with the imported template. Let’s now take a look at how to add a new page to your website.
How to Add a new page
It is quite easy to build and add a new page to your website with Elementor. So, to create a page from scratch, click on + New at the top of the page. This will first open up the WordPress editing page.
Here, enter the title of your page and click Edit with Elementor. You will have an Elementor editing page with a blank page except for the header section.
Here, you can create a new page on your website using one of the two ways,
As we discussed, Elementor has blocks that pretty much cover most of the features you would need in a website. You can start by dragging and dropping a Heading block and editing it.
Similarly, you can drag and drop other blocks that are essential for your website.
This process of drag-and-drop needs you to build your entire webpage from scratch. The placement of blocks and even the color and size of a text depends on your choice.
However, there is an even easier way of creating a new page on your website, which is using an existing page template.
Using existing page templates
To open up the existing block and page templates by Elementor, click on the middle icon. Here, you can either import separate blocks or whole page templates for your webpage. By doing so, you can easily edit the existing content, as we discussed previously.
Click on a page template to preview it. If you like the design of the page, click Insert to import the template.
Once the template is imported, you can edit the content the same way as editing other Elementor pages.
And once you are done with the changes, click Publish. And by publishing, you have just created a new page on your WordPress website.
To view the page after publishing, click the hamburger menu, and select View Page. This will open up the page we just created.
And that is how you can create a new page on your WordPress website using Elementor. However, to fully utilize the potential of Elementor, you need to upgrade to Elementor Pro. As it comes with features like Popup builder, Global widget, Motion Effects, etc.
How to Add a Page to the Menu
Now that we have created a new page using Elementor, let’s look at how we can add it to the menu for easy navigation. As we are going to work on the menu in the header section, click Customize.
As we saw earlier, click on the small blue icon next to the menu. This will open up the menu section on the side with the different pages available.
To add the newly created page to the menu, click Add Items.
This will open up the pages that are available to be added to the menu. Click on the newly created page and it will be added to the menu.
You can drag and drop to change the order in which the menu is displayed.
Once done, click on Publish.
If you refresh the website, you will notice that the menu change is reflected on the website.
Now we know how to edit the content of the existing web pages and also how to create a new web page from scratch.
With that, we are done! We have created a Fully Functioning WordPress website.
The biggest mistake most people do is that they leave right here. They think it’s enough to just make a WordPress website and leave it to itself. But that shouldn’t be the case!
Though there are a lot of things you need to do on your website, we have compiled a small list of the must-do things that need to be done right after you create a WordPress website.
Bonus: Must-Do things after creating your WordPress website
This here is a list of Must-Do’s you should consider right after creating your website. As important it is to create a WordPress website on your own, it is equally important to complete these features as well.
Yes, we need more plugins. While we only used a couple of plugins to create a WordPress website, that’s not enough! To customize a dream website out of the ordinary WordPress website, we will need more than a couple of plugins.
For all the features that make our WordPress website stand out from others, we would need the help of plugins. That is why we have come up with 25 Must-have Free WordPress plugins that will help customize and improve your WordPress Website.
Better website content
Website content can be anything on the website including text, images, and even videos. While all websites have content, what visitors look for is high-quality website content, something that’s well-researched, well put, and strategically placed on a website.
At the end of the day, no matter how appealing your website design is, it is also the content that plays an important role for your visitors to stay for a long time on your website. So, to help you begin with it, we have a guide on how to create better website content that helps you give valuable information to the audience, make them convert, and earn revenue.
Mobile-friendly
With more than 50% of website traffic coming from mobiles, you need to make sure that your website is mobile-friendly. A mobile-friendly website not just builds credibility among your visitors, but also gives you an upper hand over your competitors.
And above all, search engines love responsive websites and thus are one of the SEO factors. So, right after creating a website, you need to install a mobile-specific WordPress plugin like WPtouch that does it for you in a couple of clicks.
To learn more about why websites need to be responsive and how you can make yours in no time, check our article here.
Security
The very first step you need to focus on after creating your website is the security of the website. The basic security of your website starts with a free SSL provided by your hosting provider. However, that’s not entirely enough to keep your website safe.
You need to have a security-specific WordPress plugin to secure your website from hackers. A plugin that regularly monitors your website for all types of attacks including malware, brute force, etc.
Despite all the security measures we take up, there may be some unfortunate events that will result in the loss of your website data. As it is quite inevitable, it’s always recommended to have a backup for your website.
Though there are several ways you can backup your website like even manually backing it up, it is advisable to go with a trusted plugin like UpdraftPlus.
UpdraftPlus backs up your website information either daily or weekly and stores it in its database. You also get the option to manually backup your website data in a matter of a few clicks.
What makes UpdraftPlus stand out is its ability to store the backup not just in local storage but also in other cloud storage like Google Drive, Dropbox, etc.
SEO
Search Engine Optimization is one of the crucial factors that need to be done on the website. Just like having a mobile-friendly website, there are several other factors that dictate how search engine optimized your website is.
Your website just as it is created is not enough to generate traffic on the Internet. You need to optimize your website for it to rank on the Search Engine Results Page (SERPs). By doing so, your website will rank on the first page of search results and thus generate more traffic in the long run.
It’s quite a thing to create a WordPress website on your own. But all the efforts will be in vain if you don’t analyze how your website performs. Popular analytics tools like Google Analytics only provide us with numbers, whereas what we need to know is how visitors truly interact with our website.
That is why we prefer Smartlook website Analytics where you can literally see how your visitors have interacted with your website, thanks to its recordings feature. You also get to see the most visited or most clicked part of your website using the Hotspots feature in Smartlook.
To know more about this brilliant analytics tool and its features like Recordings, heatmaps, and events, do check our Smartlook review.
Now, these are some of the must-do things and features one needs to do right after creating a WordPress website.
As the Must-Do’s are sorted,
Let us now look at the various types of websites one can create using WordPress.
How to Create Different types of websites using WordPress
But, no one wants to stop at just creating a plain WordPress website. Most people either want to create a blog or want to create specific websites like photography and other businesses. If you are in the same boat, here are a couple of sections that can help you accomplish that.
How to Create an eCommerce website using WordPress
The eCommerce industry has been steadily growing over the past couple of years and is only expected to keep on doing so. So, the need to build an eCommerce website is more now than ever.
The process of creating an eCommerce website is similar to that of a usual WordPress website, except that you would need business-specific plugins that add features like Shopping cart, Payment, etc.
How to Create a Photography Website using WordPress
With the advent of more and more photography businesses in the market, more people want to learn how to create their own photography websites. These are photographers and not exactly the technical people we are talking about here.
So, they want it easy, and what better than WordPress for that? The process of creating a WordPress photography website is similar to that of a general website, except that there are photography-specific themes and plugins involved.
To create a blog on your website, you first need a website. So, once you are done creating a WordPress website, you can easily create a separate page for blogs and write your content. The primary focus of creating a blog should be to increase the traffic to your website.
A website, be it for personal blogging or for a professional business, creates your presence online, and makes people even on the other side of the planet reach you. Considered to be of professional standard, a website provides more credibility compared to social media.
However, before the advent of WordPress, the process of website creation was reserved for only technical people who know how to code. With WordPress, the entire scenario has changed.
Now even an absolute beginner can build his/her own website in no time using these steps,
So, the process of website creation has become really easy. But a website that’s created and left, is no better than a website that’s not even created. So, as a website owner, you need to regularly update the content and add new features to your website, in order to rank better and earn revenue.
We also have a detailed video tutorial on How to Create a WordPress website, for you to follow along.
Likewise, we have several other video tutorials for website creation. In fact, we even have an exclusive Make a Pro Website course that teaches everything about WordPress website creation.
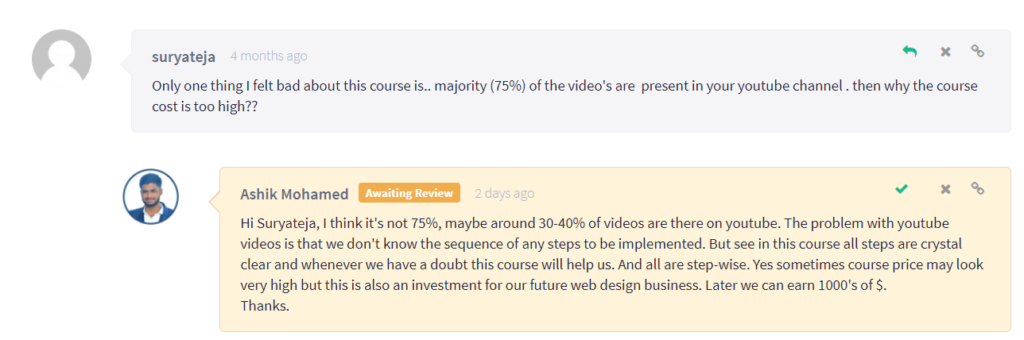
But, if you are thinking, ‘Why should I buy the course when I have free YouTube videos?’, then one of our subscribers has got something to say.
Even though we have several YouTube videos on WordPress website creation, nothing beats a well-structured course. That is why we have created this Make a Pro Website course to help people build their websites.
This is an exclusive beginner-friendly course that teaches everything about WordPress website creation in less than 7 days. Yes, a week’s time is all it takes for you to build your own WordPress website. And obviously, there is no coding!
You will create a WordPress website on your own in less than 7 days!
Yes, you can create a WordPress website for free using WordPress.com. In fact, here is a blog that will guide you on How to Create a Free WordPress website.
But, a free website comes with its own set of limitations, after all. With a free site, you lose control over your website to WordPress, and will also end up spending a fortune on upgrading the plan.
Does WordPress require coding?
No. Even an absolute beginner who has no clue about coding can create his/her own WordPress website in a couple of days. However, in the long run, a little coding knowledge can help to customize the plugins in an advanced way.
How much does it cost to create a WordPress website?
It depends. Though WordPress in itself is free, the cost of a WordPress website depends on a couple of factors like Hosting and Domain. That is why you need to carefully analyze the different types of hosting and choose the right fit for your website.
How to Create a WordPress Website step-by-step?
The process of creating a WordPress website from scratch can be simplified by creating a proper step-by-step workflow,
Launching your WordPress website
Get Domain and Hosting
Create a New Hosting Account
Install WordPress (Depends on the Host)
Choose a Responsive WordPress Theme
Change the default content
Adding the Must-Have Plugins
This step-by-step process pretty much covers everything that happens behind creating a WordPress website, starting from Getting domain and hosting, to adding new pages using plugins.
Which theme is best for WordPress?
Of all the thousands of themes available in the WordPress directory, each one is specifically made for a purpose. However, for beginners, we believe Astra, Divi, OceanWP are some of the best choices, to begin with.
With easy drag-and-drop builder and responsive design, these themes stand out from the others in the market.
Should I choose WordPress or Wix for my website?
Wix is relatively new compared to WordPress and is proving to be an amazing website builder. However, with years of experience, WordPress has created a fool-proof solution for beginners starting on website creation.
WordPress is known to be highly flexible and customizable, thus suitable for a variety of users. However, it is only right that you thoroughly analyze WordPress vs Wix and then come up with a decision on your own.
Are WordPress websites secure?
Yes. WordPress in itself is pretty secure. However, the security of a website depends on the website administrator rather than WordPress. Because, factors like the quality of plugins and themes used, and whether or not WordPress is updated, decide the WordPress website security.
Is WordPress good for eCommerce?
Yes, it is. Over the years, eCommerce has grown so huge that it has its own set of plugins and themes in WordPress. With eCommerce-specific themes and plugins like WooCommerce, WordPress has become one of the best choices to build an eCommerce website.
Is WordPress SEO friendly?
Yes, absolutely. WordPress at its core is SEO friendly and pretty much a favourite CMS for all the search engines. However, without leaving everything to WordPress, you as a website administrator need to contribute too by using SEO specific plugins like Yoast SEO on the website.
Will Plugins slow down my website?
Yes and No. There is a common myth that the more plugins, the slower your website will be. But that’s not entirely true. It’s not like plugins in general slow down your website, it’s only the low-quality plugins that slow it down.
So, you need to be careful in choosing the right set of plugins, to not worry about the slowing of your website.
I’m searching this type help and information’s from a long time. but, not getting shticks information’s to make a new site by online help. but,
Now i created own website for our business to your article help. thank you for written smooth article. i glad with your article .
Author
Swarna Rajan
Thank you, Anushka. We are happy that you found our article to be helpful. 🙂 Do check our other blogs to successfully manage your website.
Pratik Rane
Could you recommend the best plugin(s) or method(s) for having guest contributors write for your blog?
Thanks!!
Author
Swarnarajan
Hi Pratik. The easiest way to have guest contributors write on your blog is to assign the role ‘Contributor’ to that particular user. Check our video on how to add a new user to your website and assign a role to them. How to Add New Users to your WordPress Website


4 Comments
Leave a CommentAnushka Singh
Hello, Admin
I’m searching this type help and information’s from a long time. but, not getting shticks information’s to make a new site by online help. but,
Now i created own website for our business to your article help. thank you for written smooth article. i glad with your article .
Swarna Rajan
Thank you, Anushka. We are happy that you found our article to be helpful. 🙂 Do check our other blogs to successfully manage your website.
Pratik Rane
Could you recommend the best plugin(s) or method(s) for having guest contributors write for your blog?
Thanks!!
Swarnarajan
Hi Pratik. The easiest way to have guest contributors write on your blog is to assign the role ‘Contributor’ to that particular user. Check our video on how to add a new user to your website and assign a role to them.
How to Add New Users to your WordPress Website